Configuration on ADFS Side
Before configuring Shibboleth as Relying Party in ADFS side basic ADFS setup should be complete and validated. In terms of network connectivity the user browser (end users of OwnCloud) should have network connectivity of ADFS on port 443 (the login page) so firewall rules should be in place.
- Download the Shibboleth metadata / owncloud SAML SP from the url - https:///Shibboleth.sso/Metadata
- In our case this is https://saml-test.owncloud.works/Shibboleth.sso/Metadata and place into a local directory into ADFS system.
- Open the ADFS Management
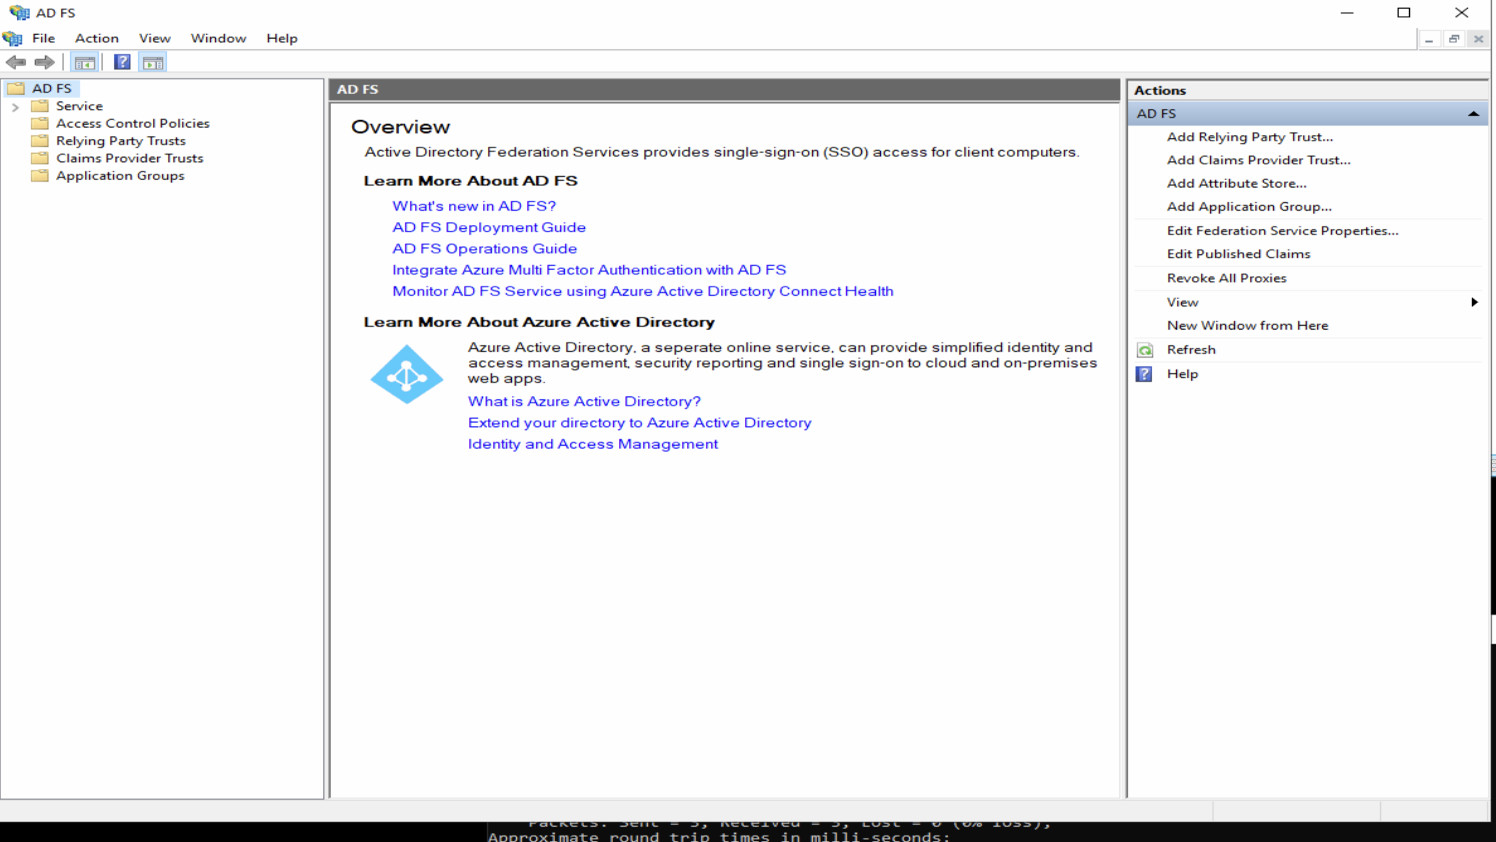
- Navigate to Relying Party Trust [on left side panel]

- Click [Add Relying Party Trust on right side panel]
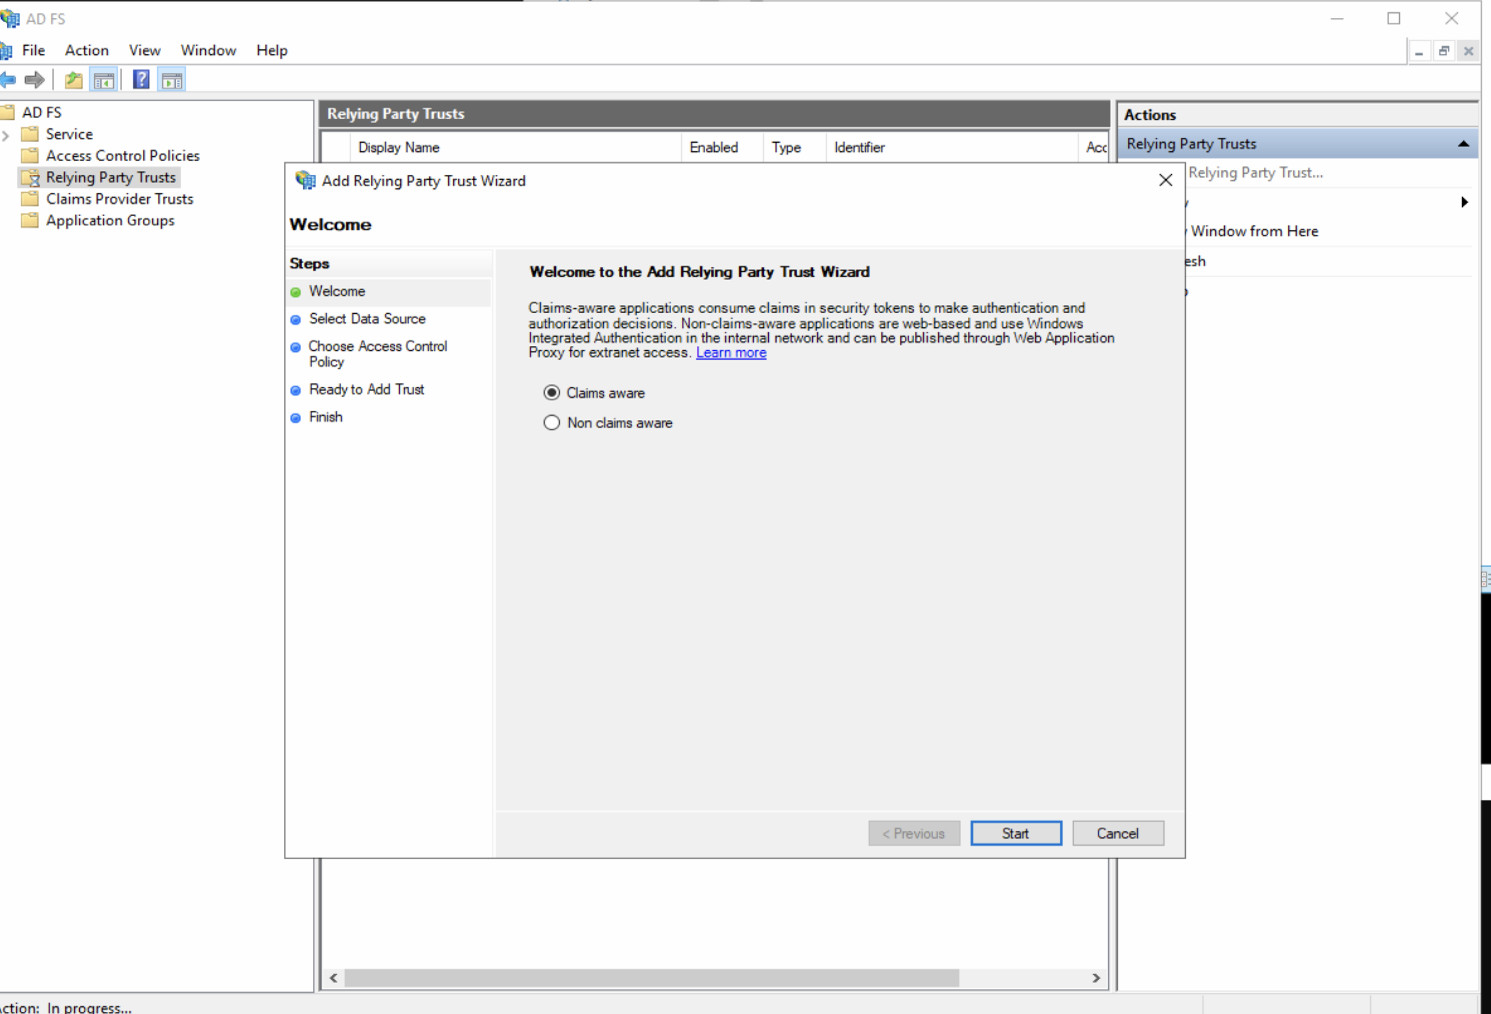
- Select [Claims Aware] application

-
Import the metadata from file [downloaded from SAML SP in step 1/ 2 above].
-
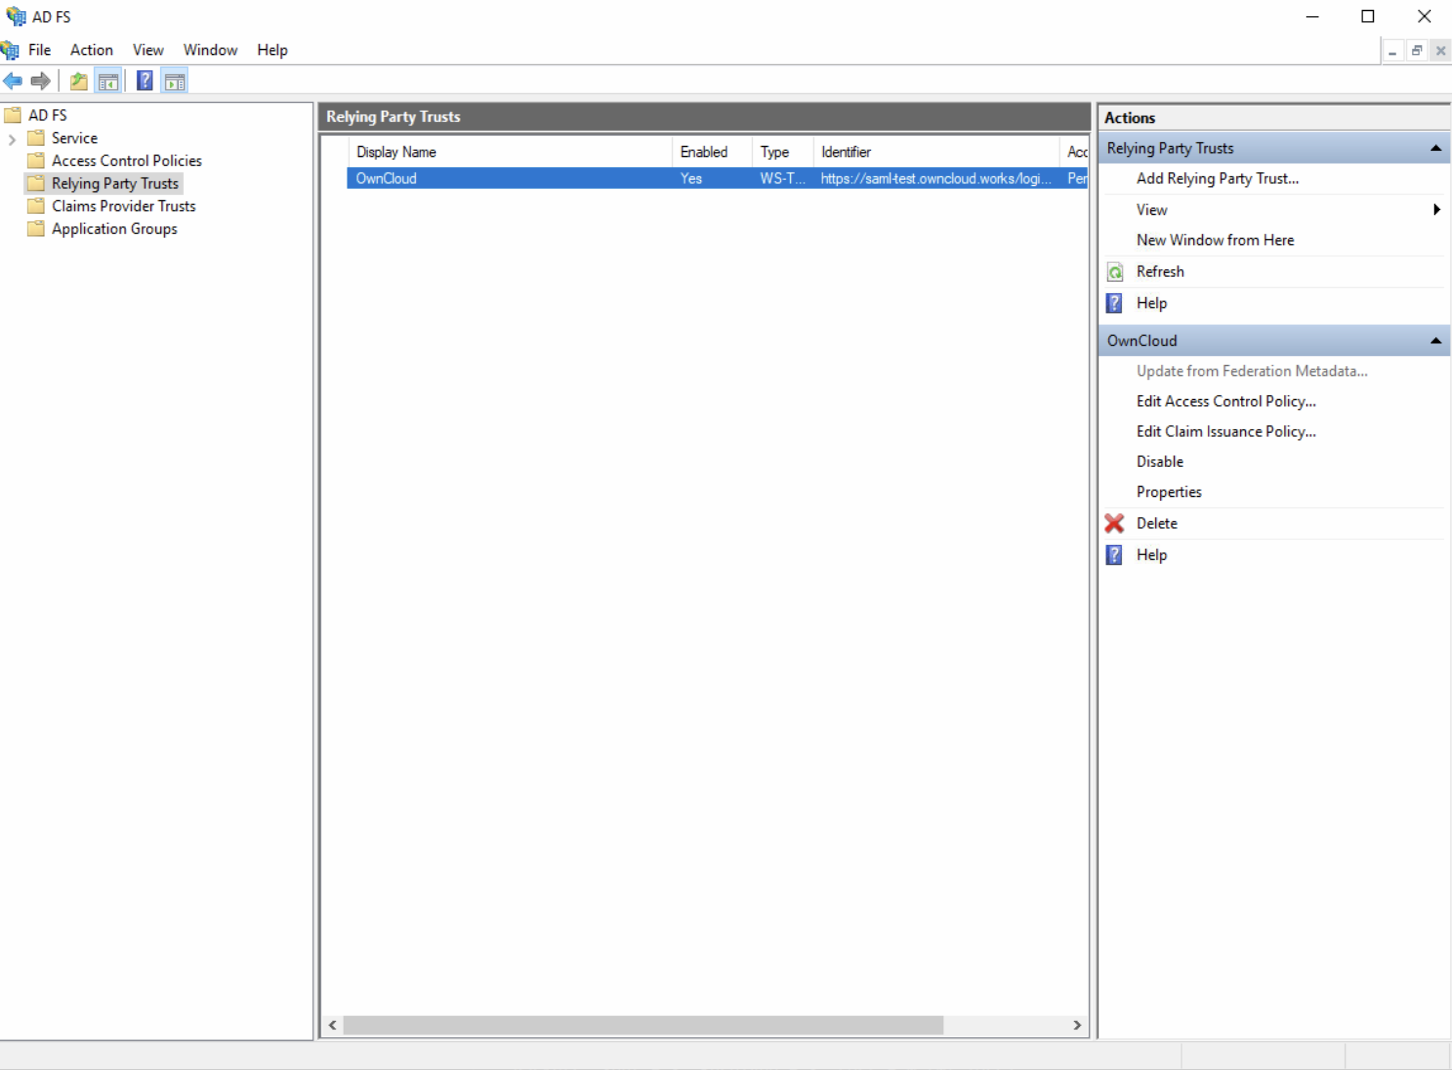
Give display name of the application, we gave owncloud as shown below.
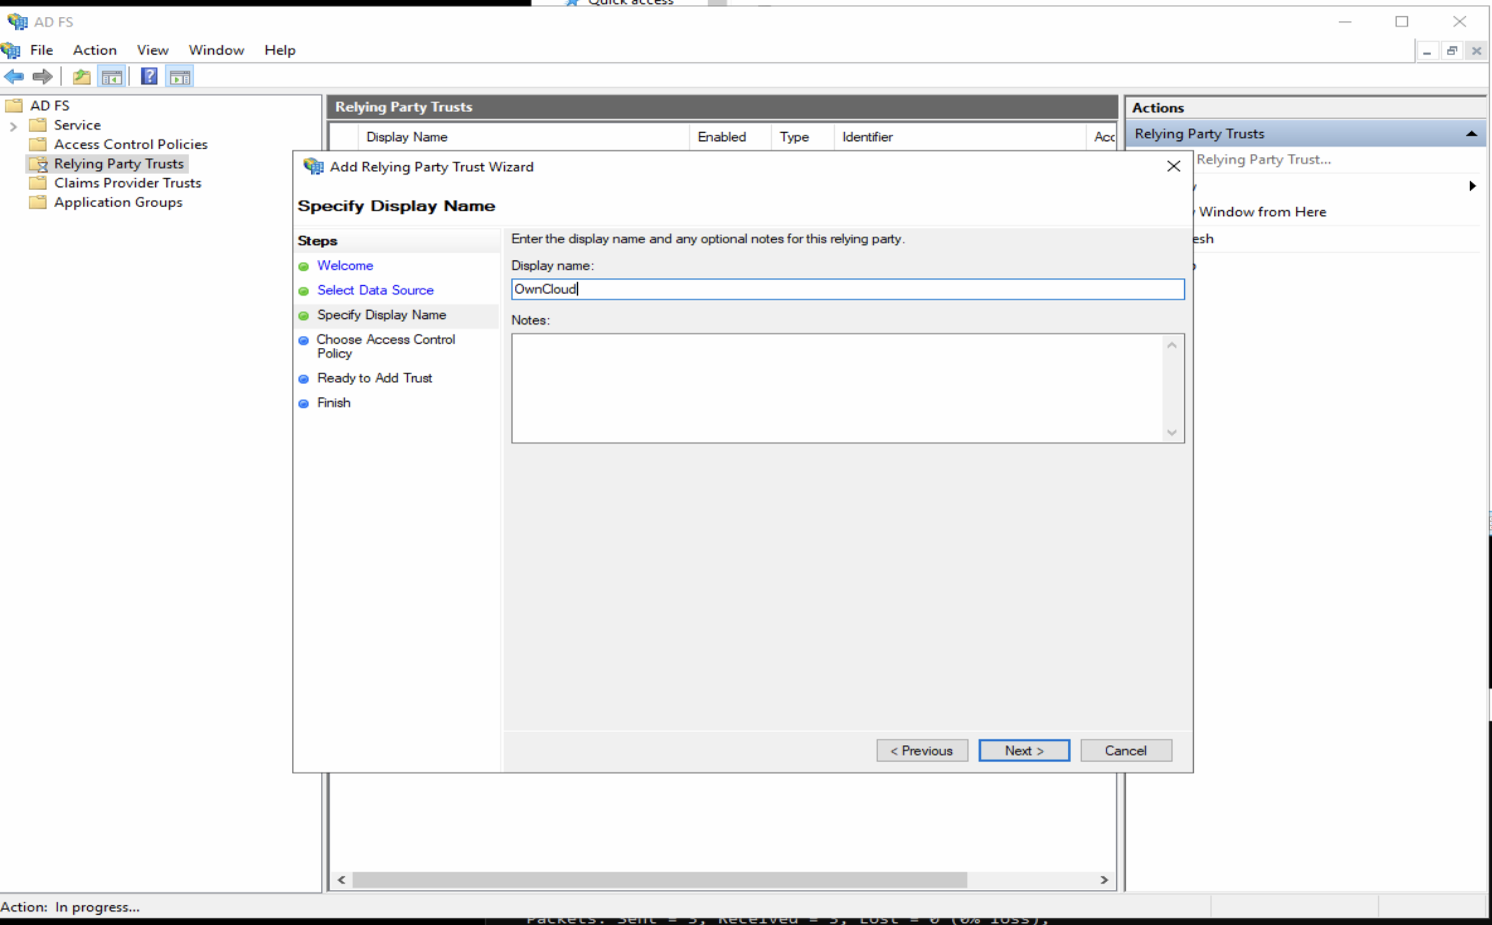
- Click Next and proceed to below screen.

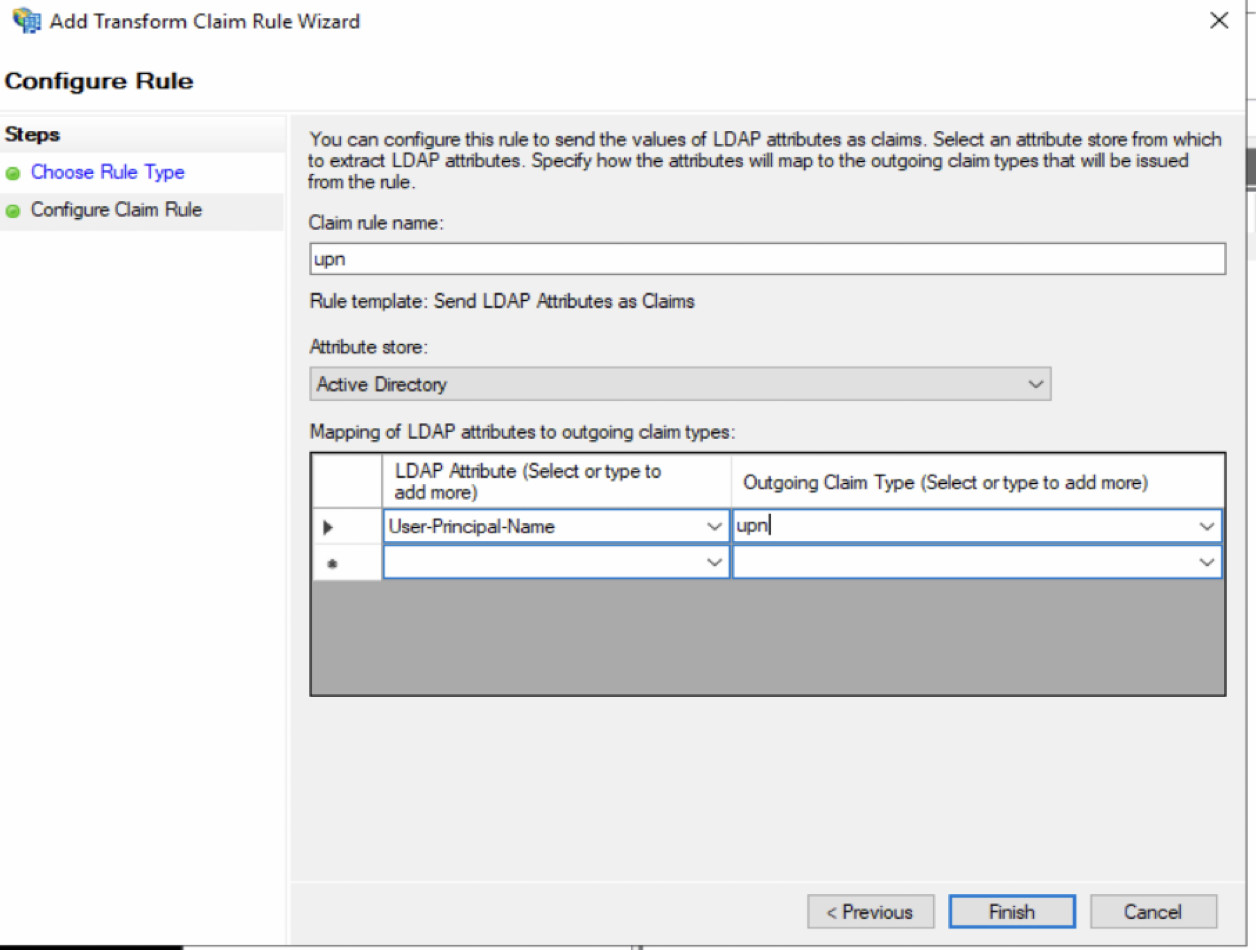
- Configure claims as below
- Give Claim Rule name as UPN (or any name of your choice].
Configuration on Shibboleth Side
Before configuring the ADFS as SAML Claims Provider ( SAML IDP) in Shibboleth, the shibboleth should be installed on OwnCloud system and basic validation should be completed. Below steps explains the steps required specific for Owncloud integration with Shibboleth (and ADFS).
- Download the ADFS metadata from ADFS url
https://AD2019.oc.local/FederationMetadata/2007-06/FederationMetadata.xml
-
On Shibboleth system navigate to shibboleth2.xml file and edit the SPConfig section [/etc/shibboleth/shibboleth2.xml]
-
Add the following entry inside the SPConfig tag
<SSO entityID="http://AD2019.oc.local/adfs/services/trust" discoveryProtocol="SAMLDS" discoveryURL="https://saml-test.owncloud.works/Shibboleth.sso/Metadata">
                SAML2
</SSO>
As shown in below screenshot

- Add the MetadataProvider configuration entry as below in SPConfig tag
<MetadataProvider type="XML" validate="true" path="/etc/shibboleth/filtered-metadata.xml"/>

-
Where filtered-metadata.xml is the ADFS metadata file obtained from ADFS in step 12
-
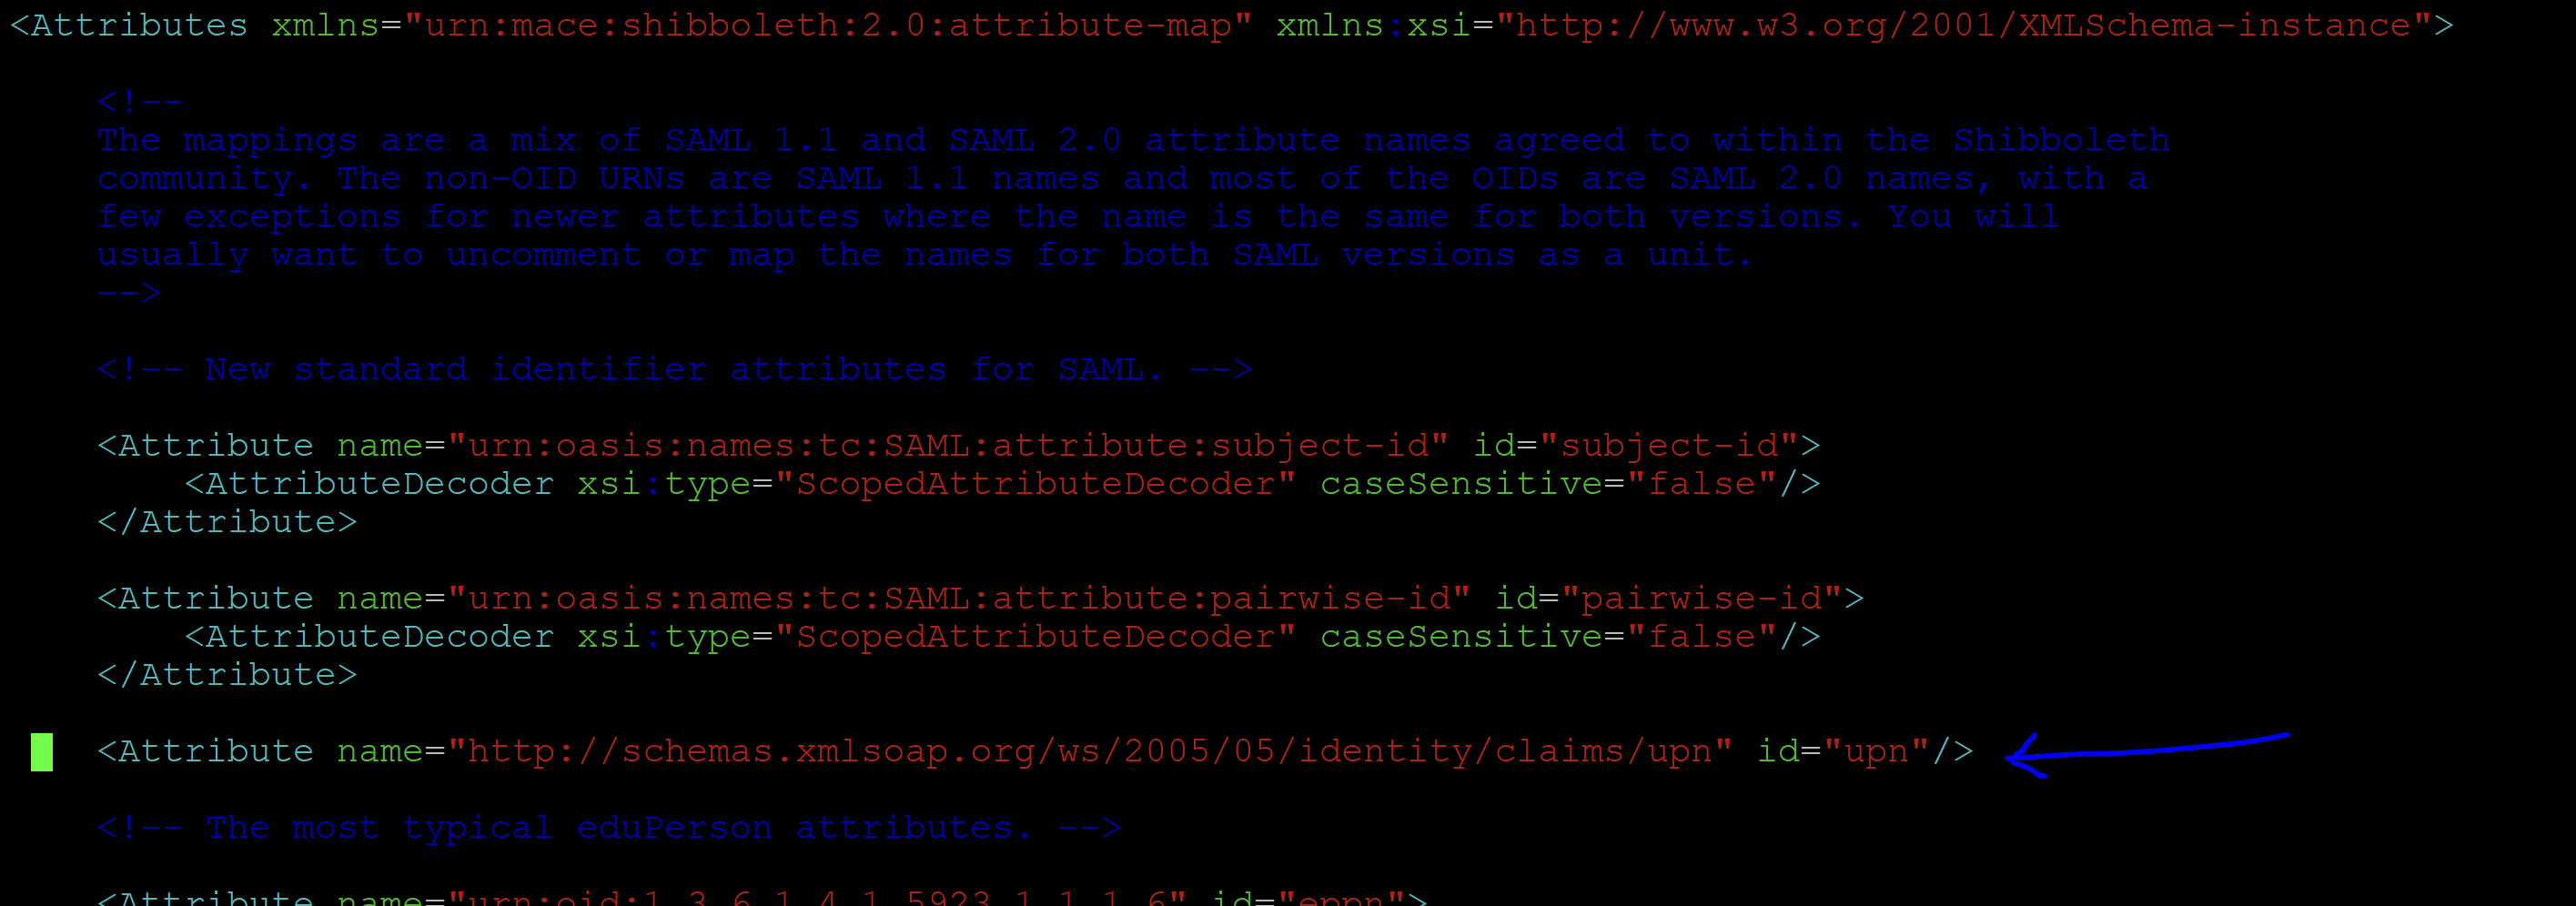
Open the attribute-map.xml from shibboleth /etc/shibboleth2/attribute-map.xml and edit the section to add the claims mapping from ADFS claim to shibboleth claim as below
<Attribute name="http://schemas.xmlsoap.org/ws/2005/05/identity/claims/upn" id="upn"/>
-
Navigate to
/etc/apache2/conf-enabled -
Edit the shibd.conf file with following configuration entries
#
# Turn this on to support "require valid-user" rules from other
# mod_authn_* modules, and use "require shib-session" for anonymous
# session-based authorization in mod_shib.
#
ShibCompatValidUser Off

#
# Ensures handler will be accessible.
#

#<Location /Shibboleth.sso>
#  AuthType None
#  Require all granted
#</Location>


<Location /Shibboleth.sso>
  AuthType None
  Require all granted
</Location>


# always fill env with shib variable for logout url
<Location />
    AuthType shibboleth
    ShibRequestSetting requireSession false
    Require shibboleth
</Location>

# authenticate only on the login page
<Location ~ "^(/index.php)?/login">
    # force internal users to use the IdP
    <If "-R '192.168.1.0/24'">
        AuthType shibboleth
        ShibRequestSetting requireSession true
        require valid-user
    </If>
    # allow basic auth for eg. guest accounts
    <Else>
        AuthType shibboleth
        ShibRequestSetting requireSession true
        require shibboleth
    </Else>
</Location>


#
# Used for example style sheet in error templates.
#
<IfModule mod_alias.c>
  <Location /shibboleth-sp>
    AuthType None
    Require all granted
  </Location>
  Alias /shibboleth-sp/main.css /usr/share/shibboleth/main.css
</IfModule>
If you want to enable both normal users as well the SSO users to login then make following highlighted entry ShibRequestSetting requireSession true to false.
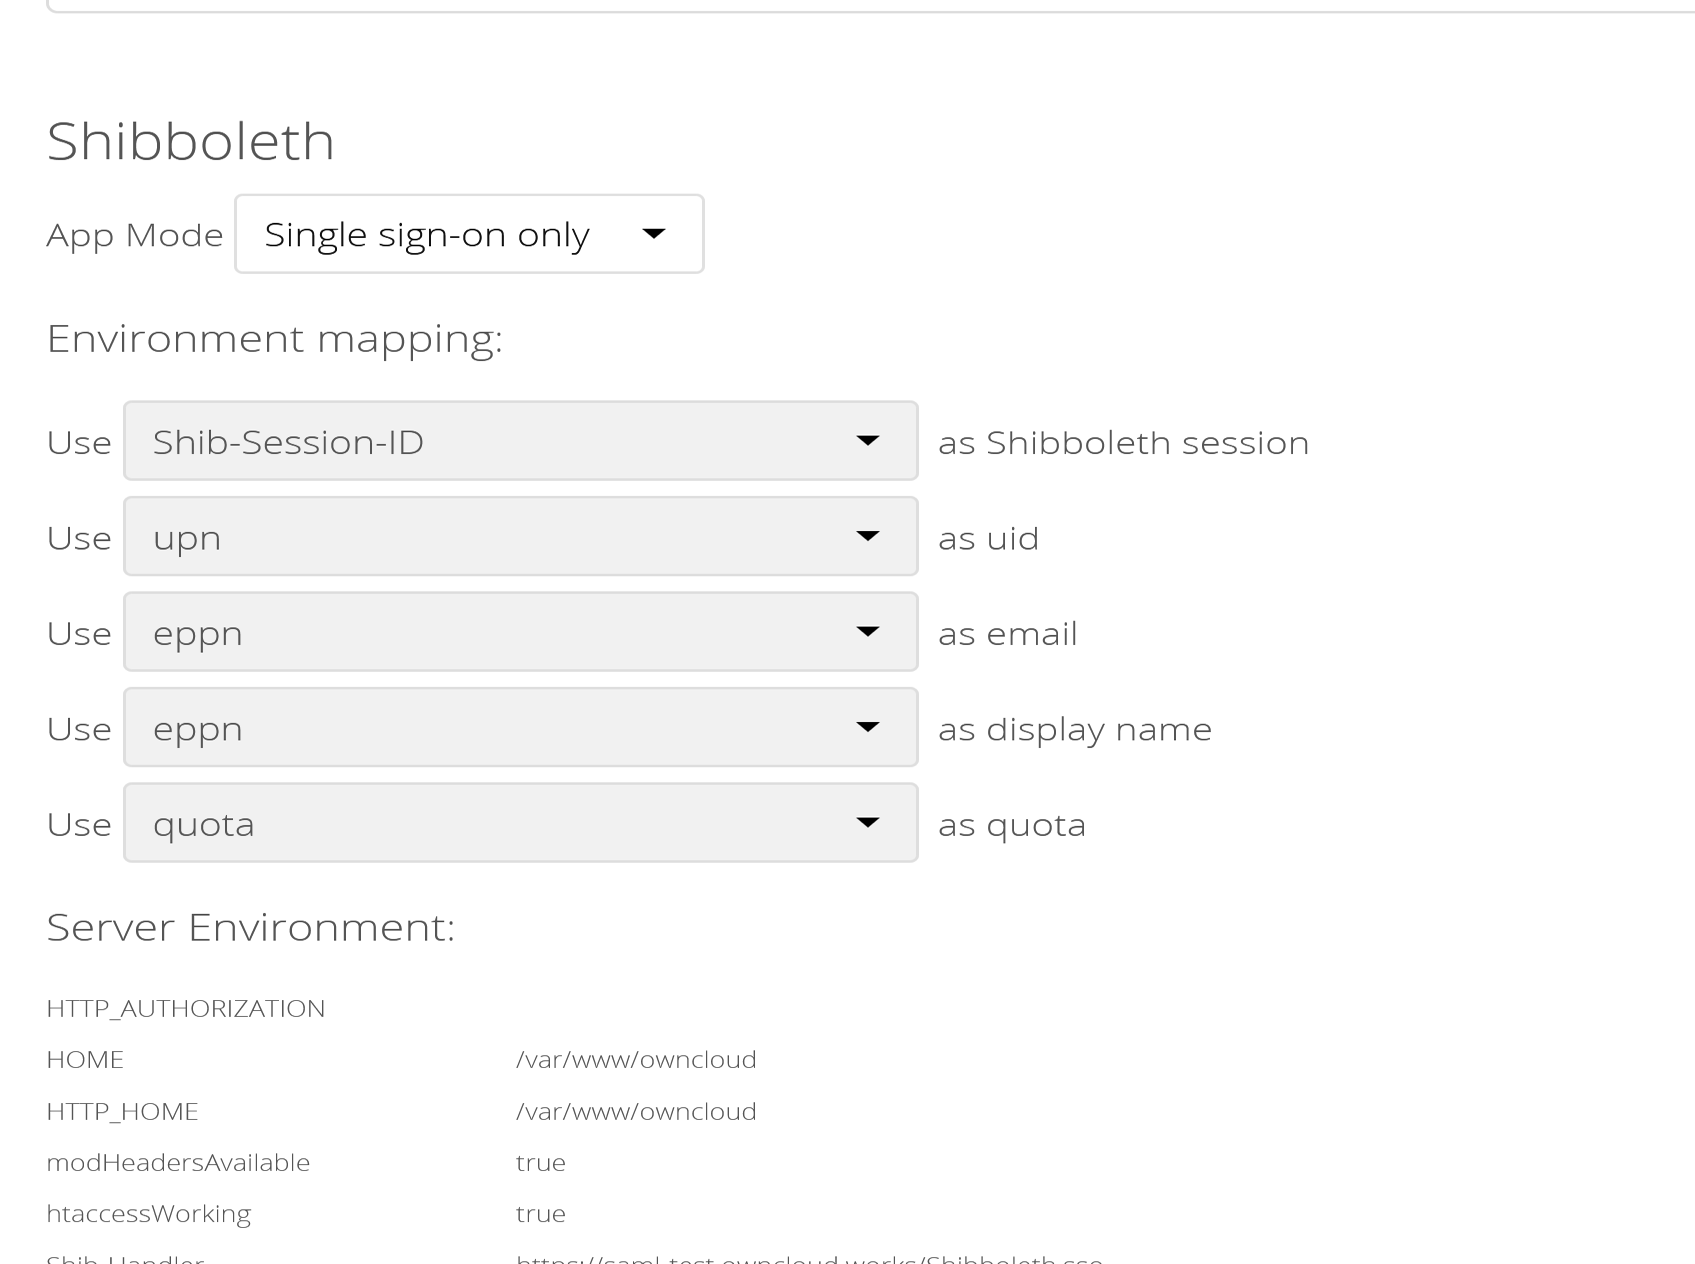
- Enable the SSO from ownCloud administration settings as shown below.
- Create a test user test@oc.local on both ADFS and owncloud system, also restart the apache2 and shibboleth services on owncloud system with below commands.
sudo systemctl restart shibd.service
sudo systemctl restart apache2
- Login to ownCloud by typing the ownCloud host into browser, this should trigger the SSO send user browser to ADFS login page. Once user logs in successfully into ADFS login page he should be able to login / SSO into ownCloud.
Configuration of Desktop SSO / Windows Integrated SSO
Windows integrated SSO works when user logs into domain joined system and access any website / system that is integrated with ADFS. Below are the steps for configuring the ADFS with desktop / Windows integrated SSO.
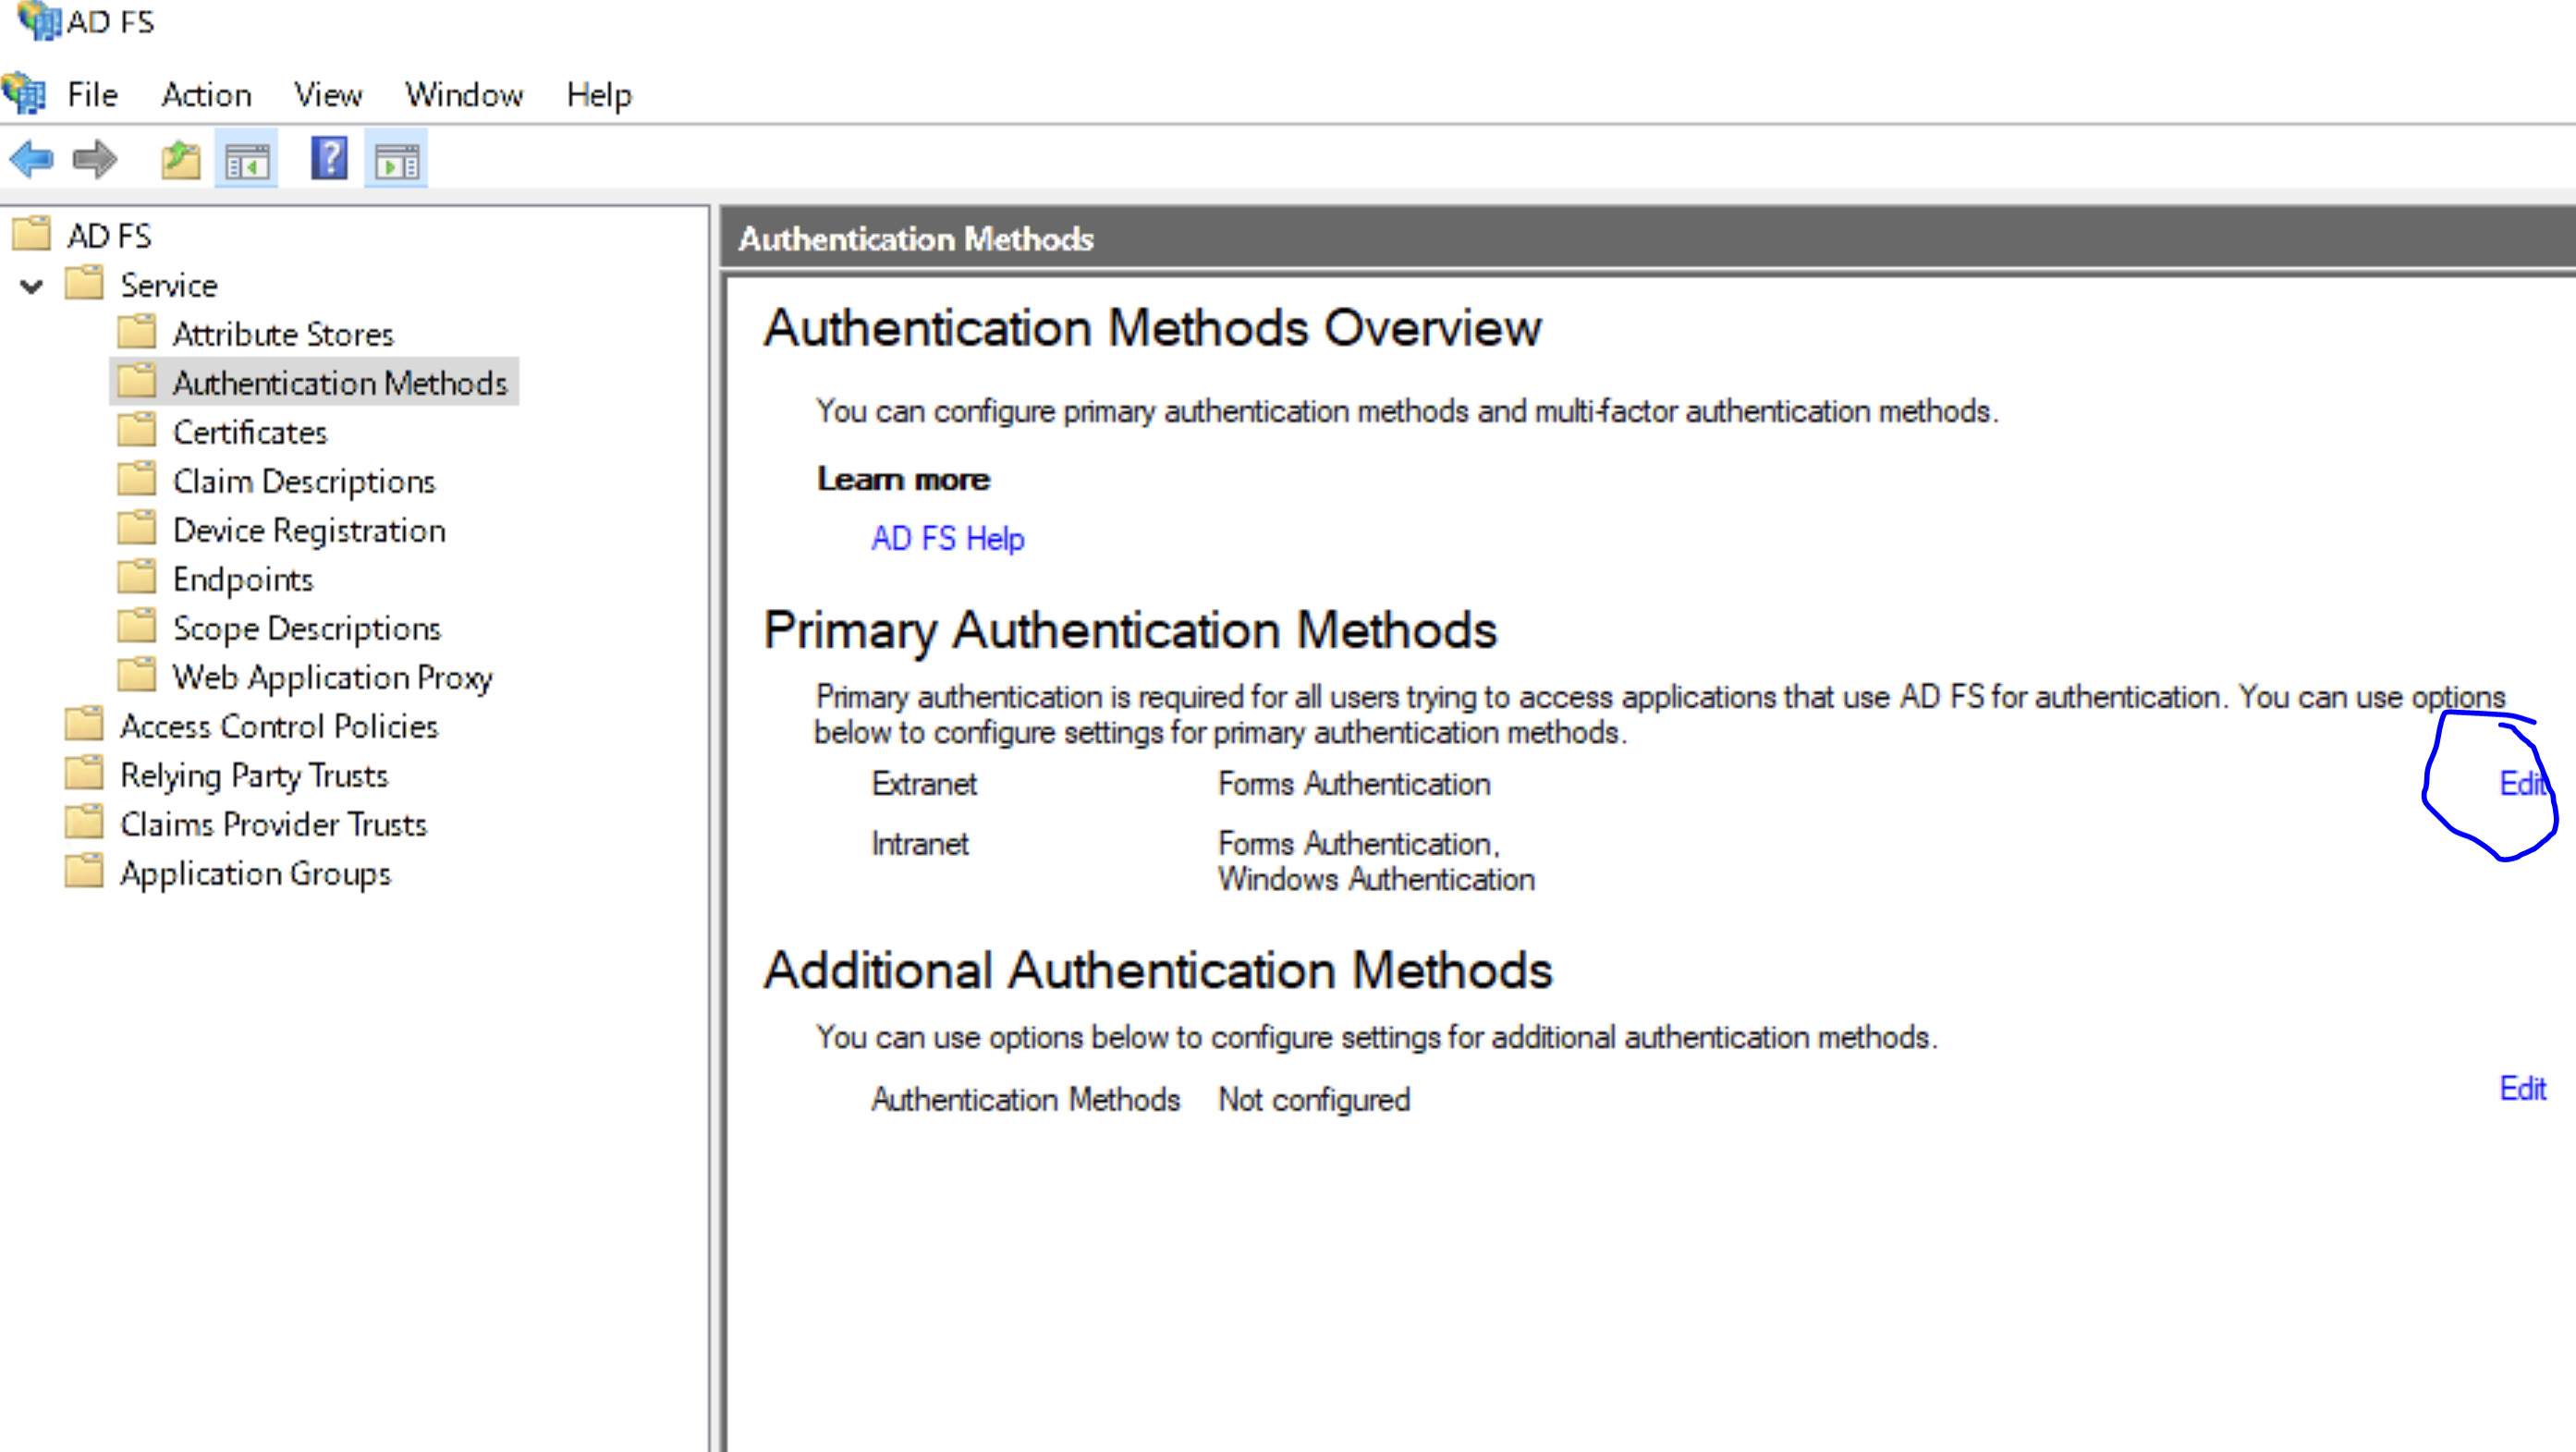
- Login to ADFS management console and enable forms Auth for Extranet and Forms Auth + Windows Authentication for intranet as below
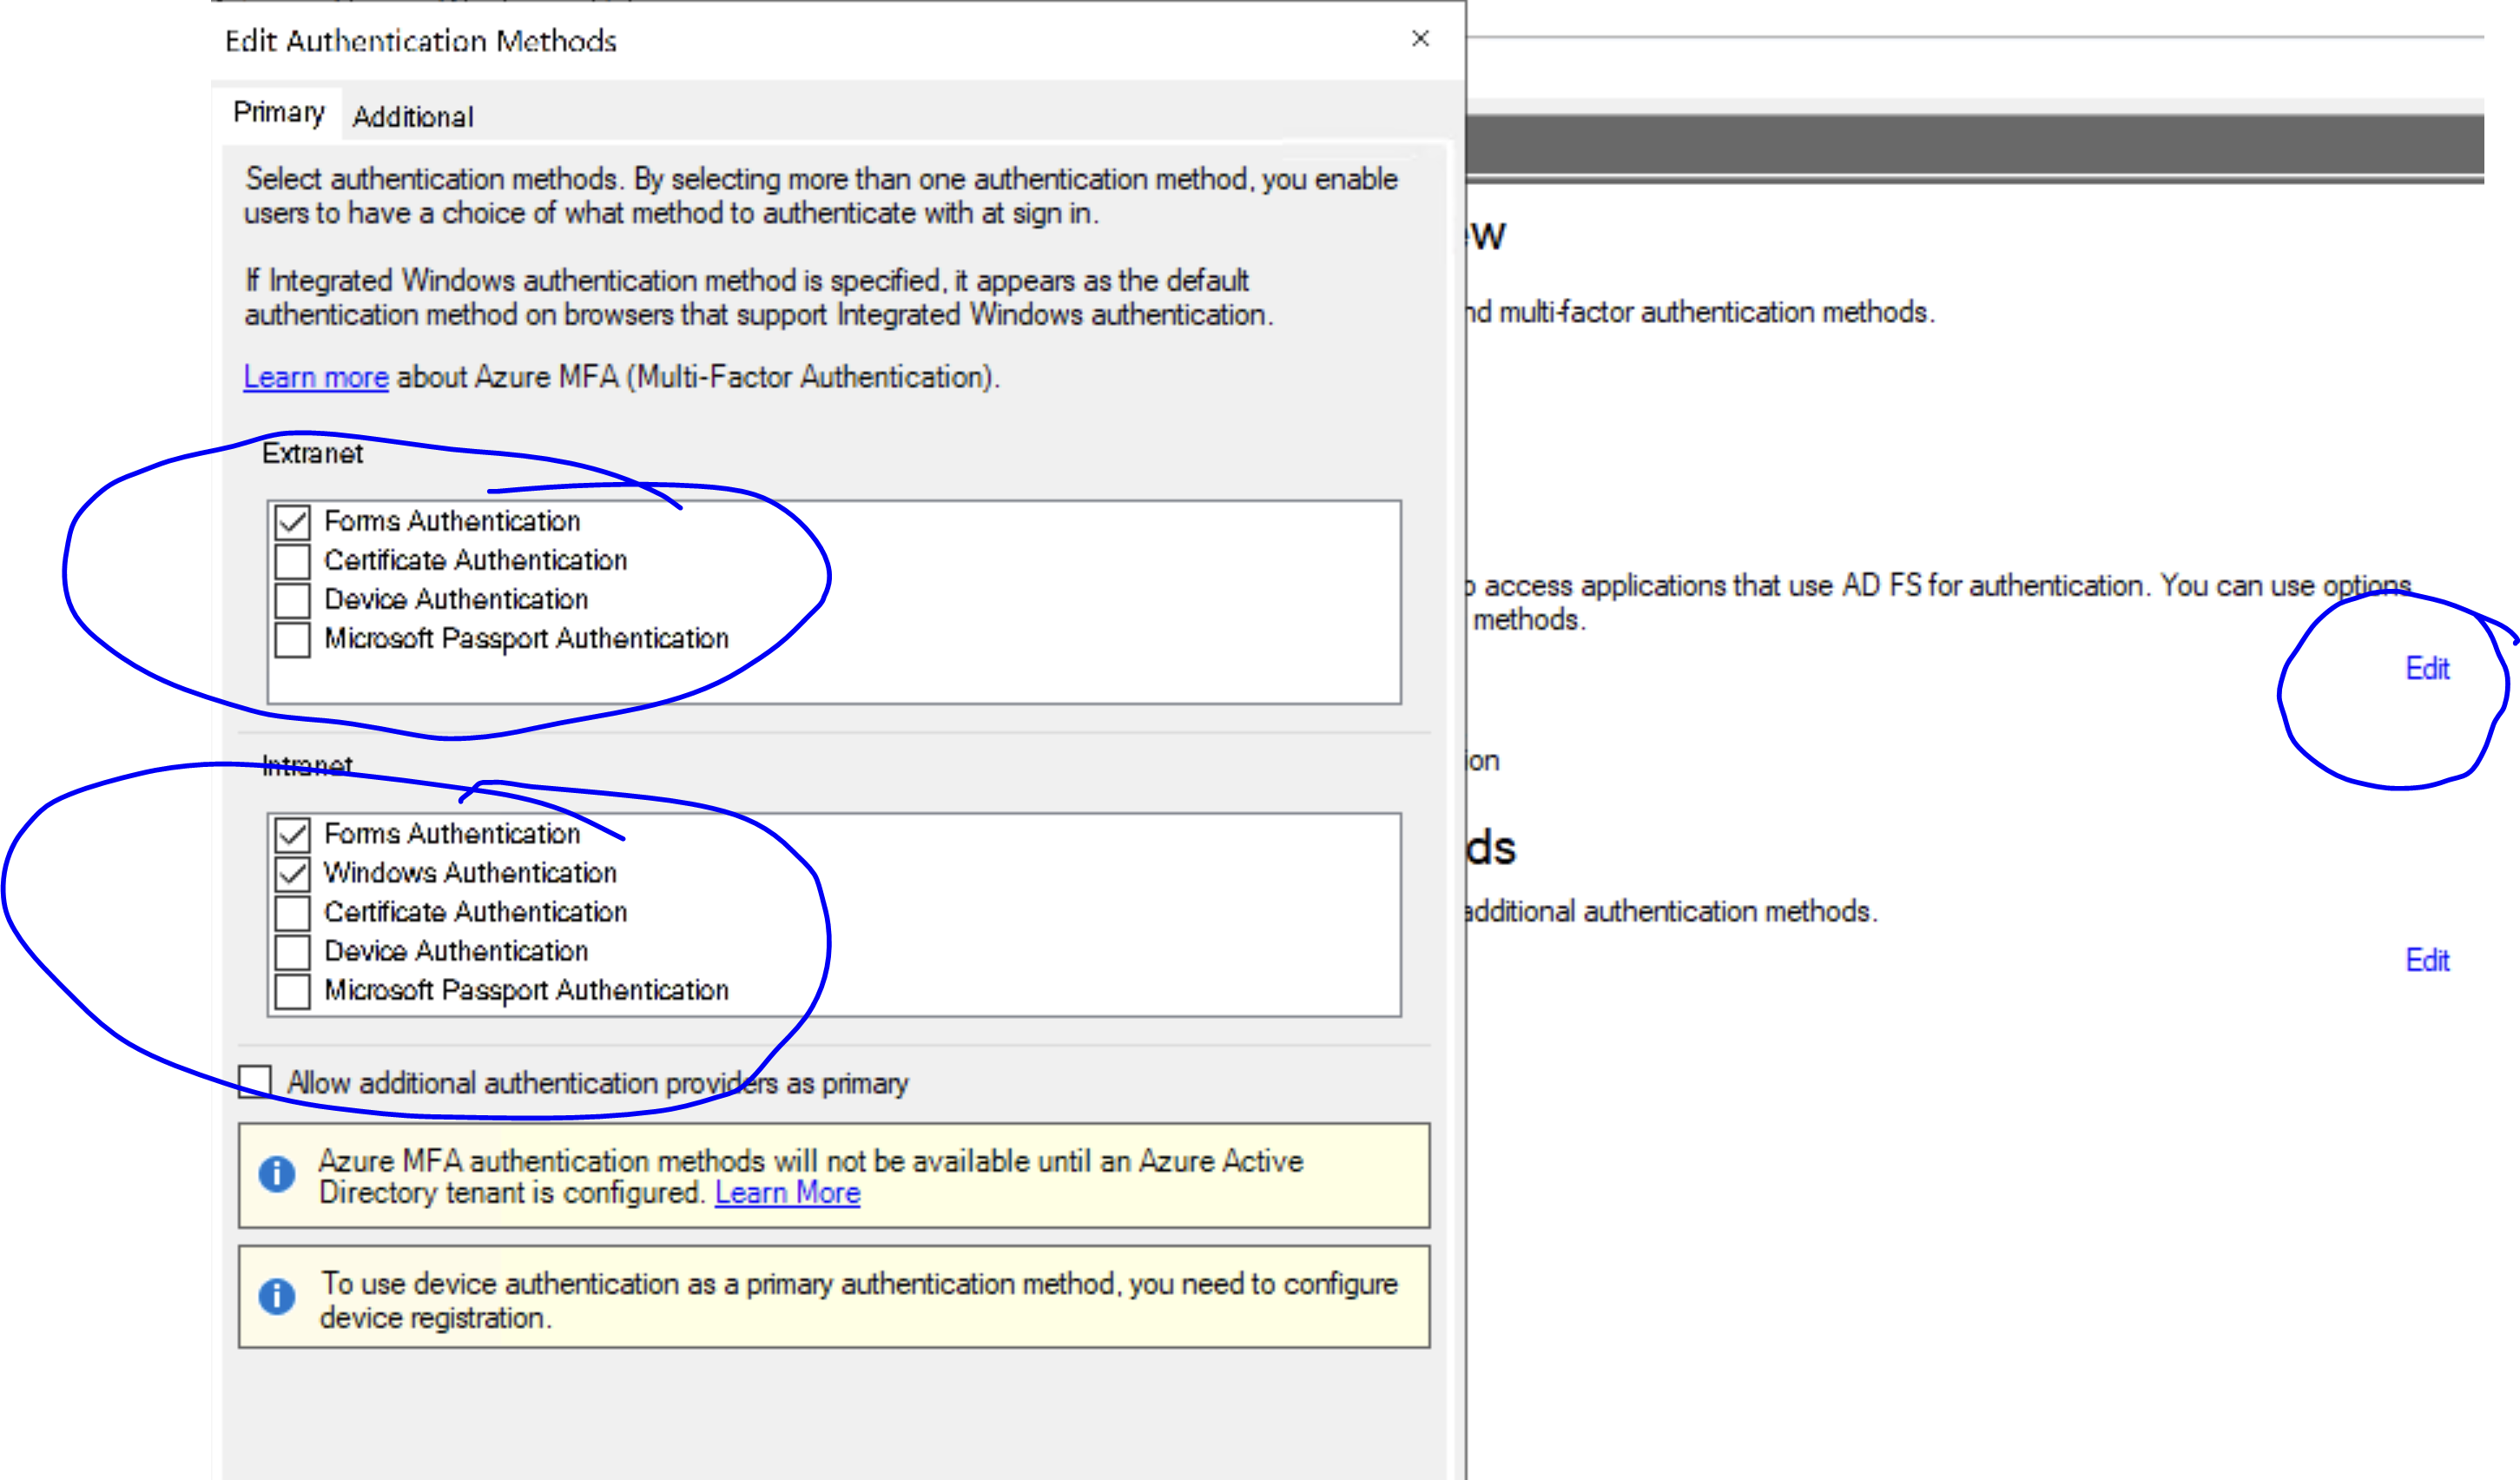
- Save the settings.
- Open the PowerShell on ADFS system with administrator privileges and execute below command
Set-AdfsProperties -WIASupportedUserAgents @("MSIE 6.0", "MSIE 7.0; Windows NT", "MSIE 8.0", "MSIE 9.0", "MSIE 10.0; Windows NT 6", "Windows NT 6.3; Trident/7.0", "Windows NT 6.3; Win64; x64; Trident/7.0", "Windows NT 6.3; WOW64; Trident/7.0", "Windows NT 6.2; Trident/7.0", "Windows NT 6.2; Win64; x64; Trident/7.0", "Windows NT 6.2; WOW64; Trident/7.0", "Windows NT 6.1; Trident/7.0", "Windows NT 6.1; Win64; x64; Trident/7.0", "Windows NT 6.1; WOW64; Trident/7.0", "MSIPC", "Windows Rights Management Client", "Edg/*","Chrome","Mozilla/5.0"]
- Above command will enable the browsers (chrome / Edge and Internet explorer for Windows integrated SSO).
- On ADFS server press (windows button + r), type services.msc there to open services.
- Locate the ADFS services as below
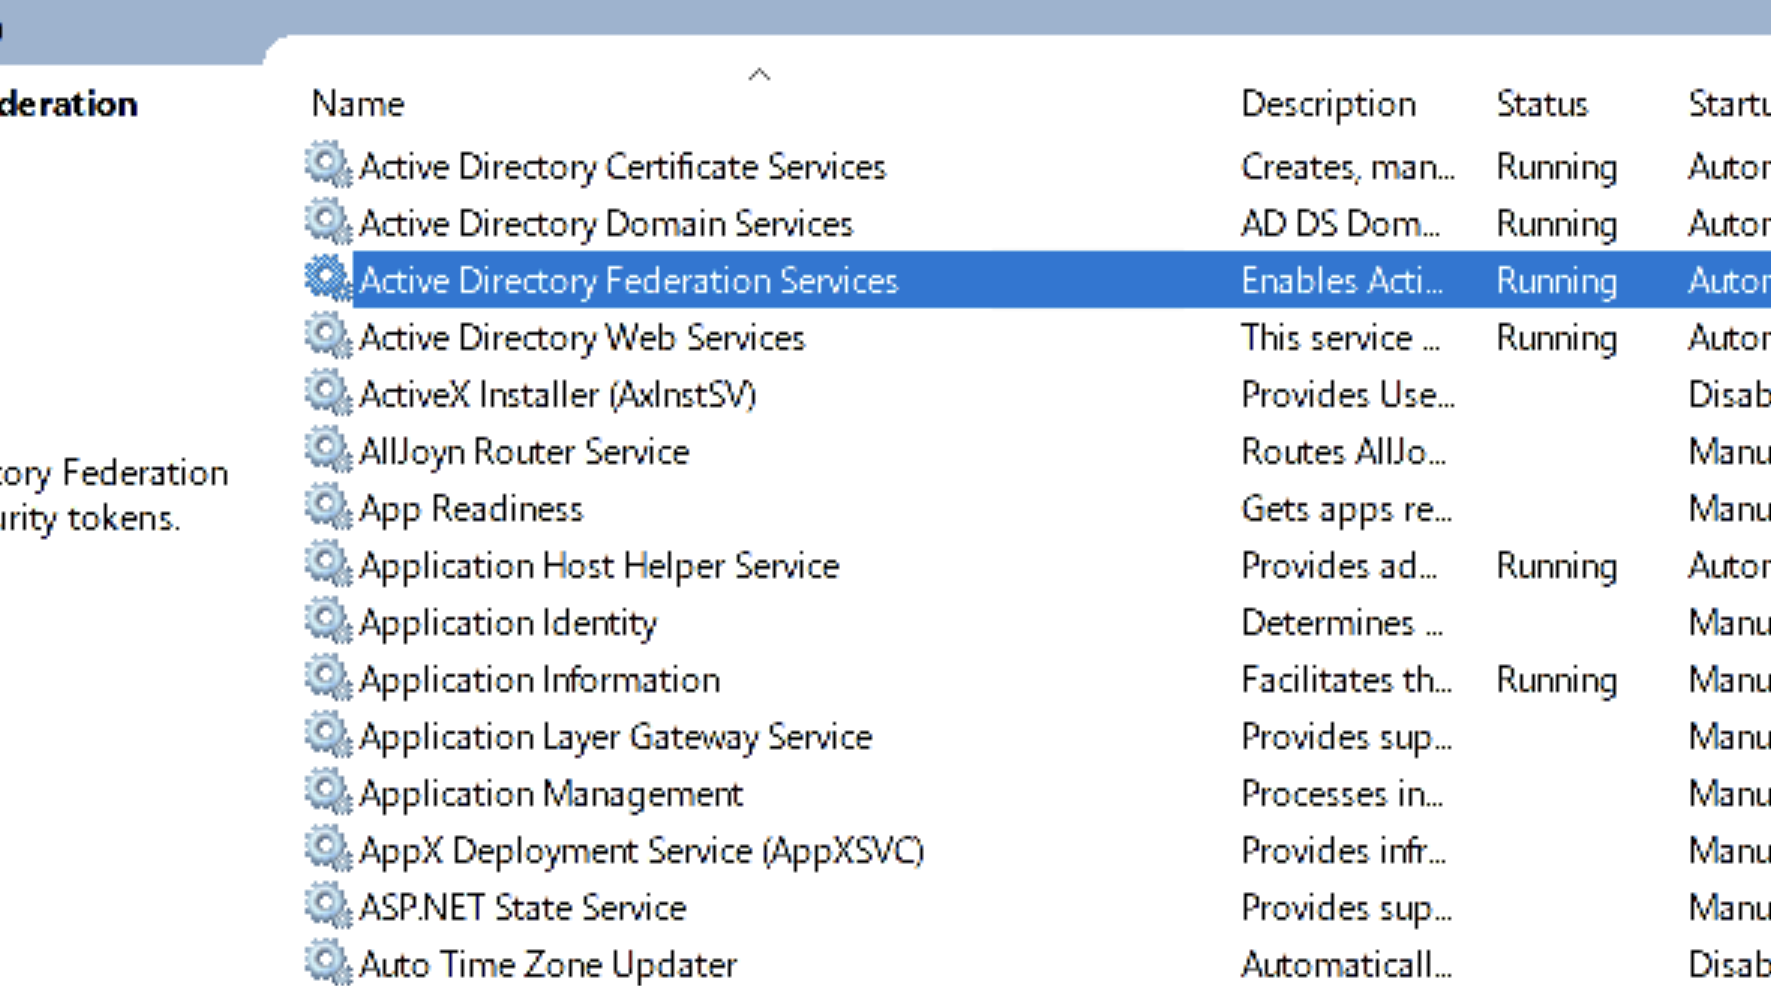
- Double click Active Directory Federation Services, navigate to [Log on] tab and find out the account used by ADFS service as below.
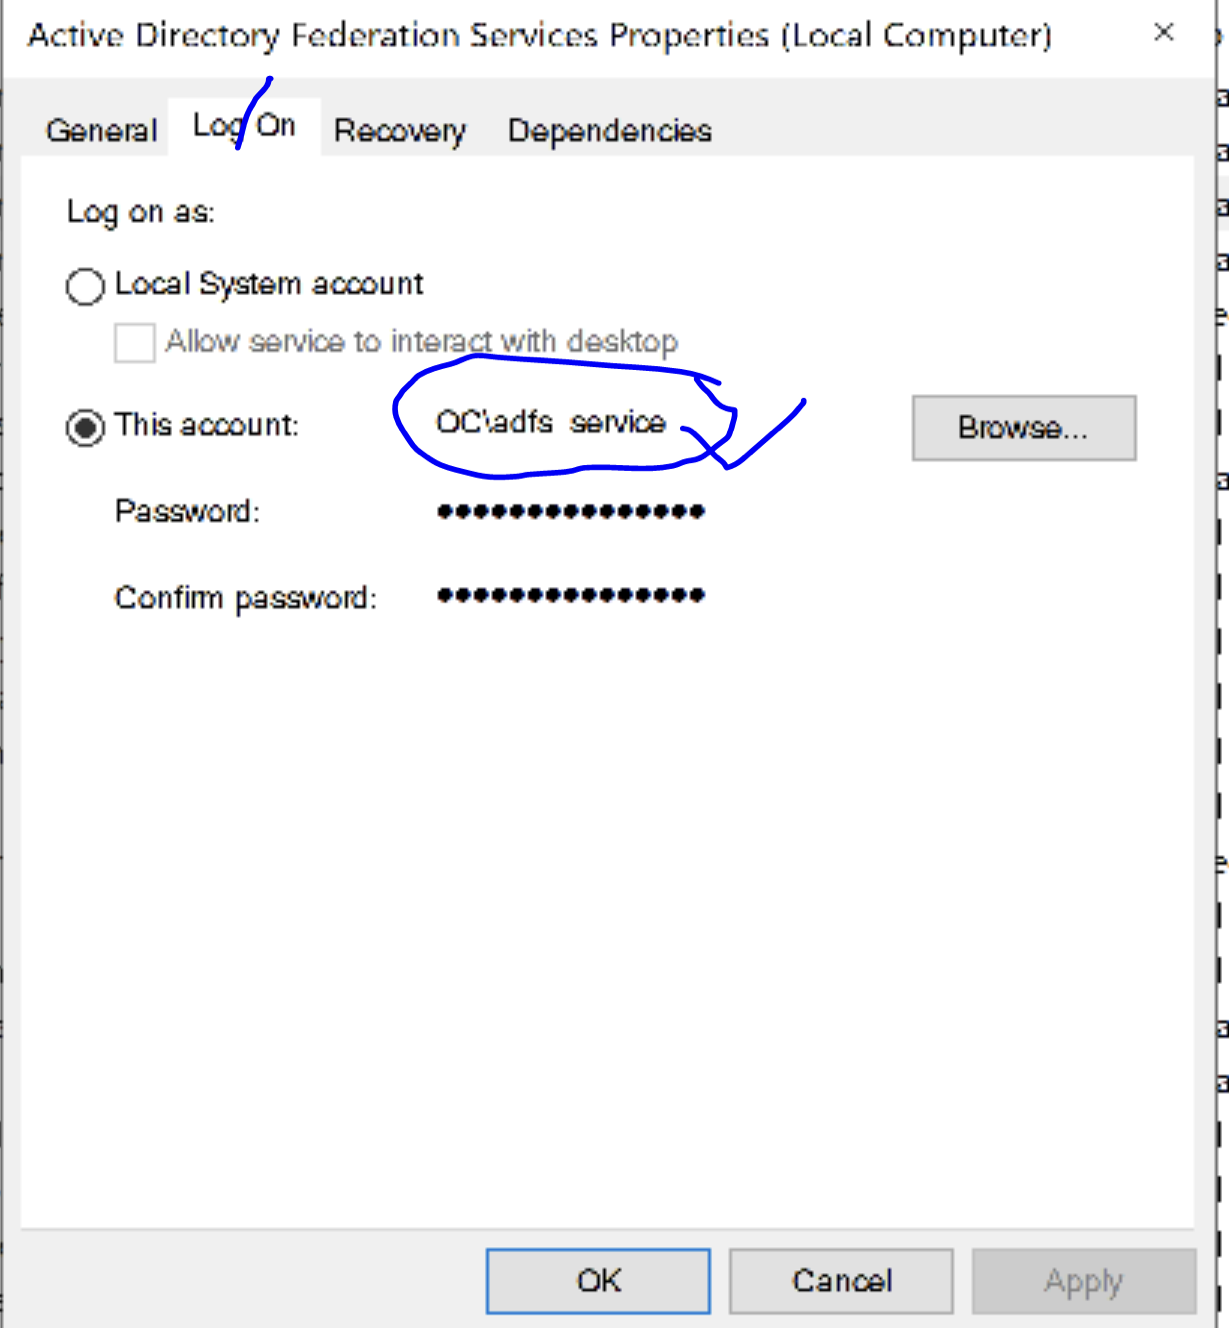
- Locate that service account in [Users and Computers] as below
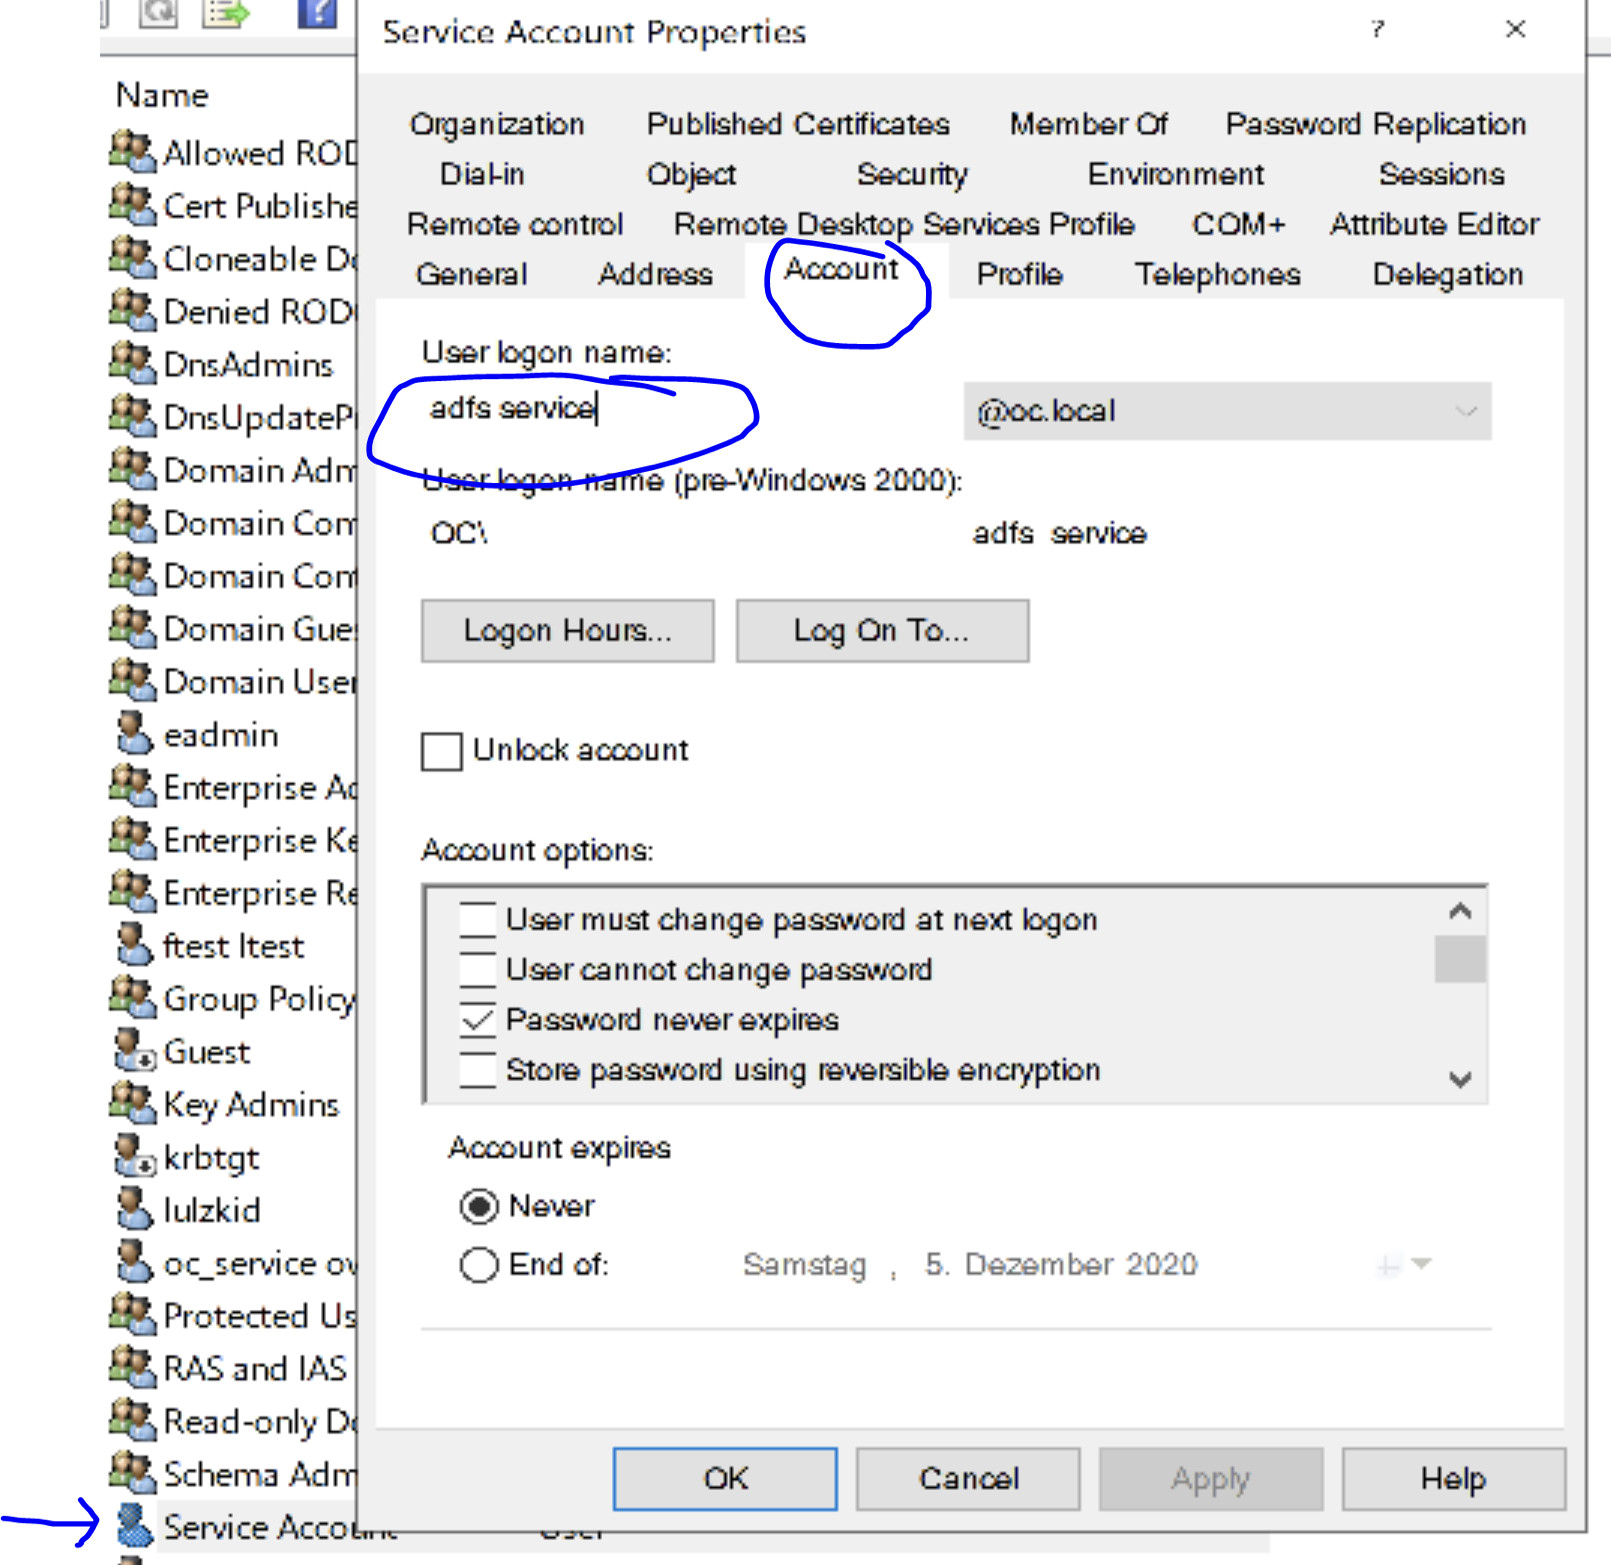
- Click on Attribute Editor tab as below
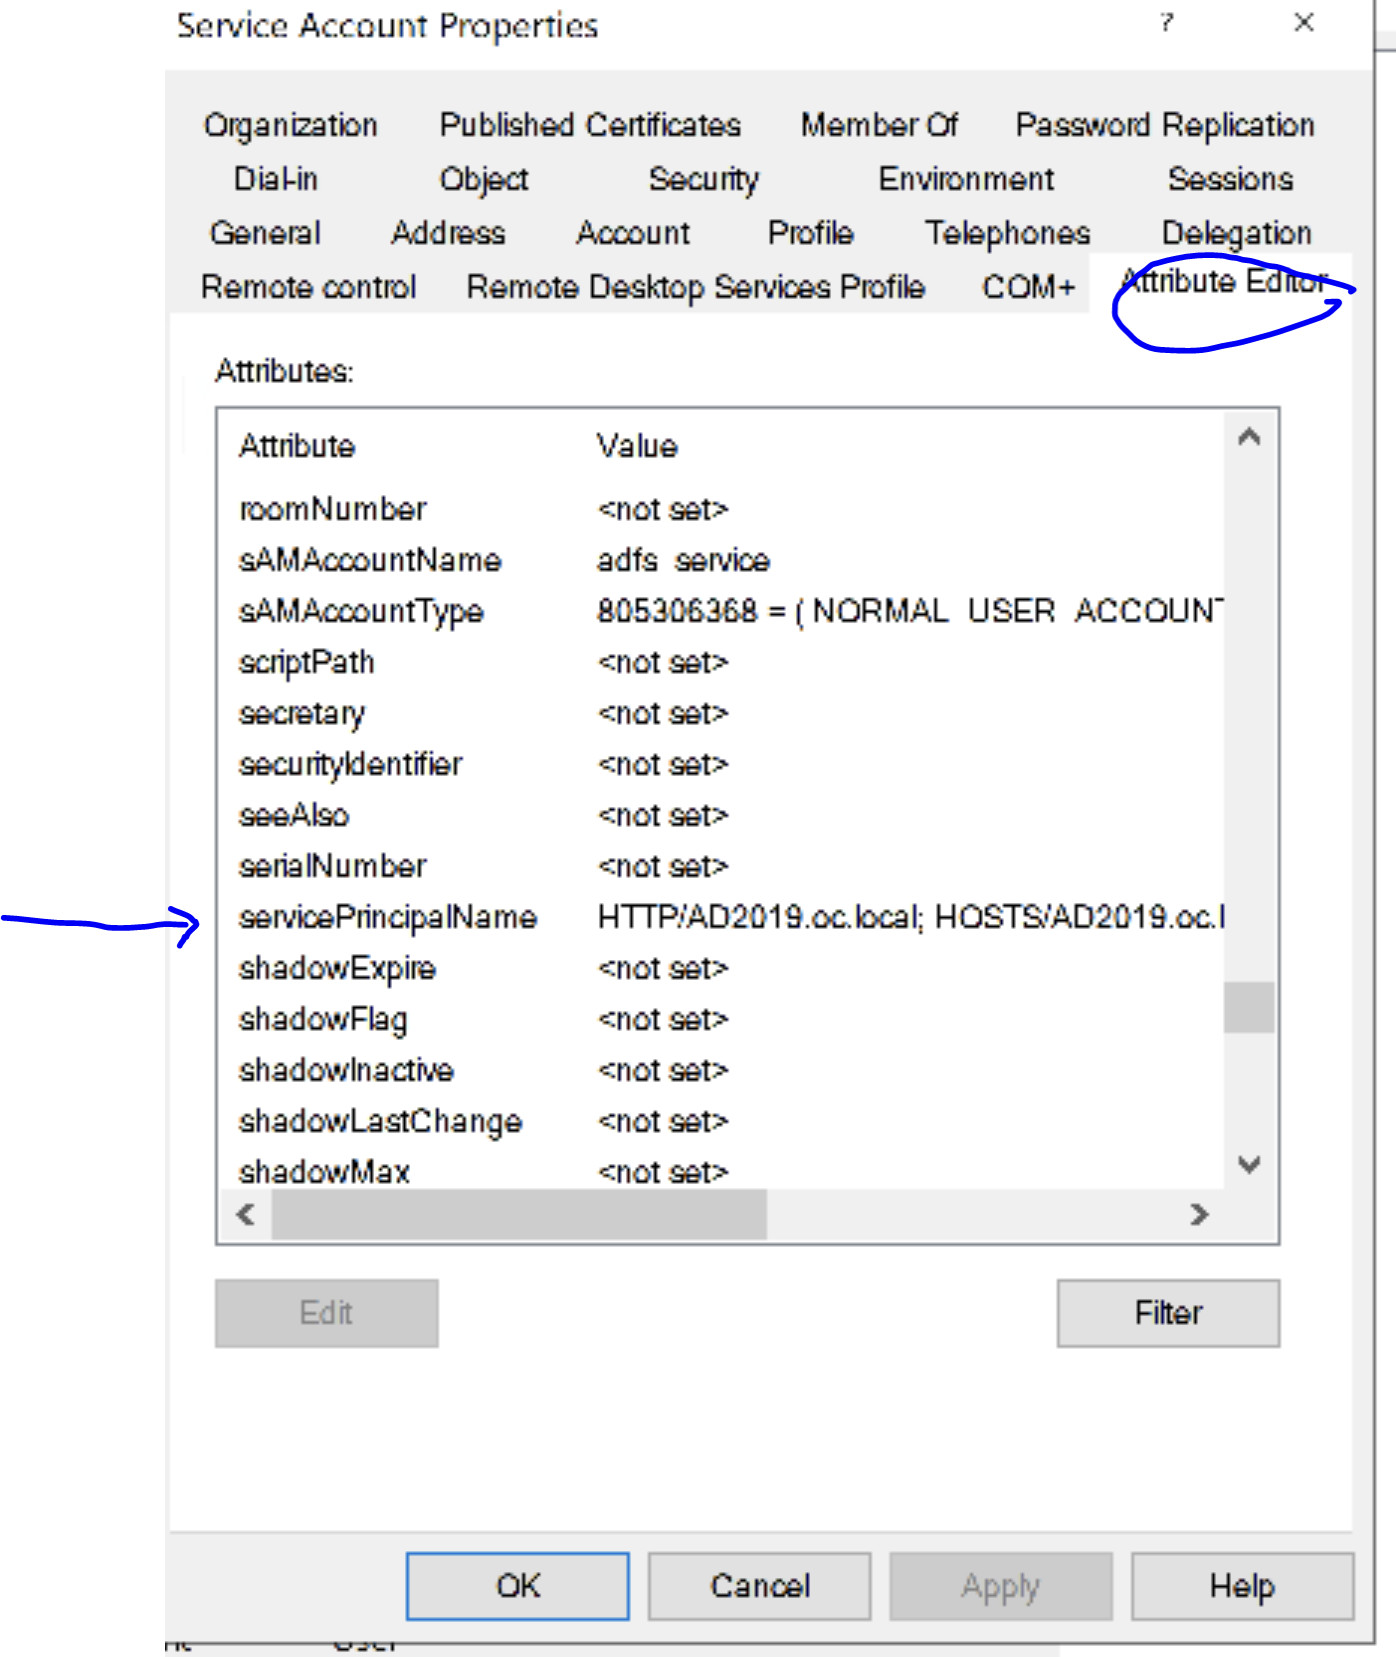
- And identify the [servicePrincipalName] attribute and double click it.
- If HTTP/AD2019.oc.local (the dns name of ADFS) is not there add it as below.
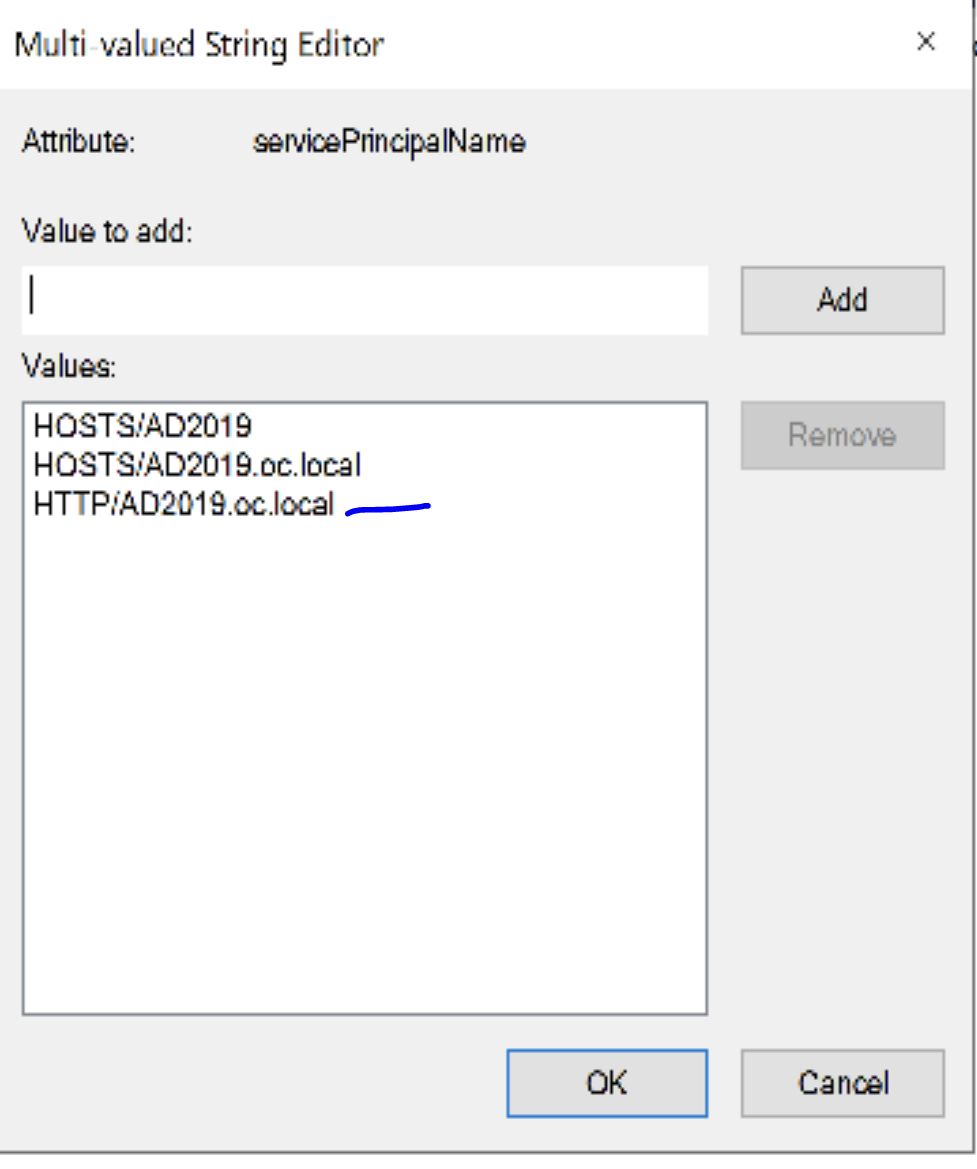
- Save it and restart the ADFS service as below

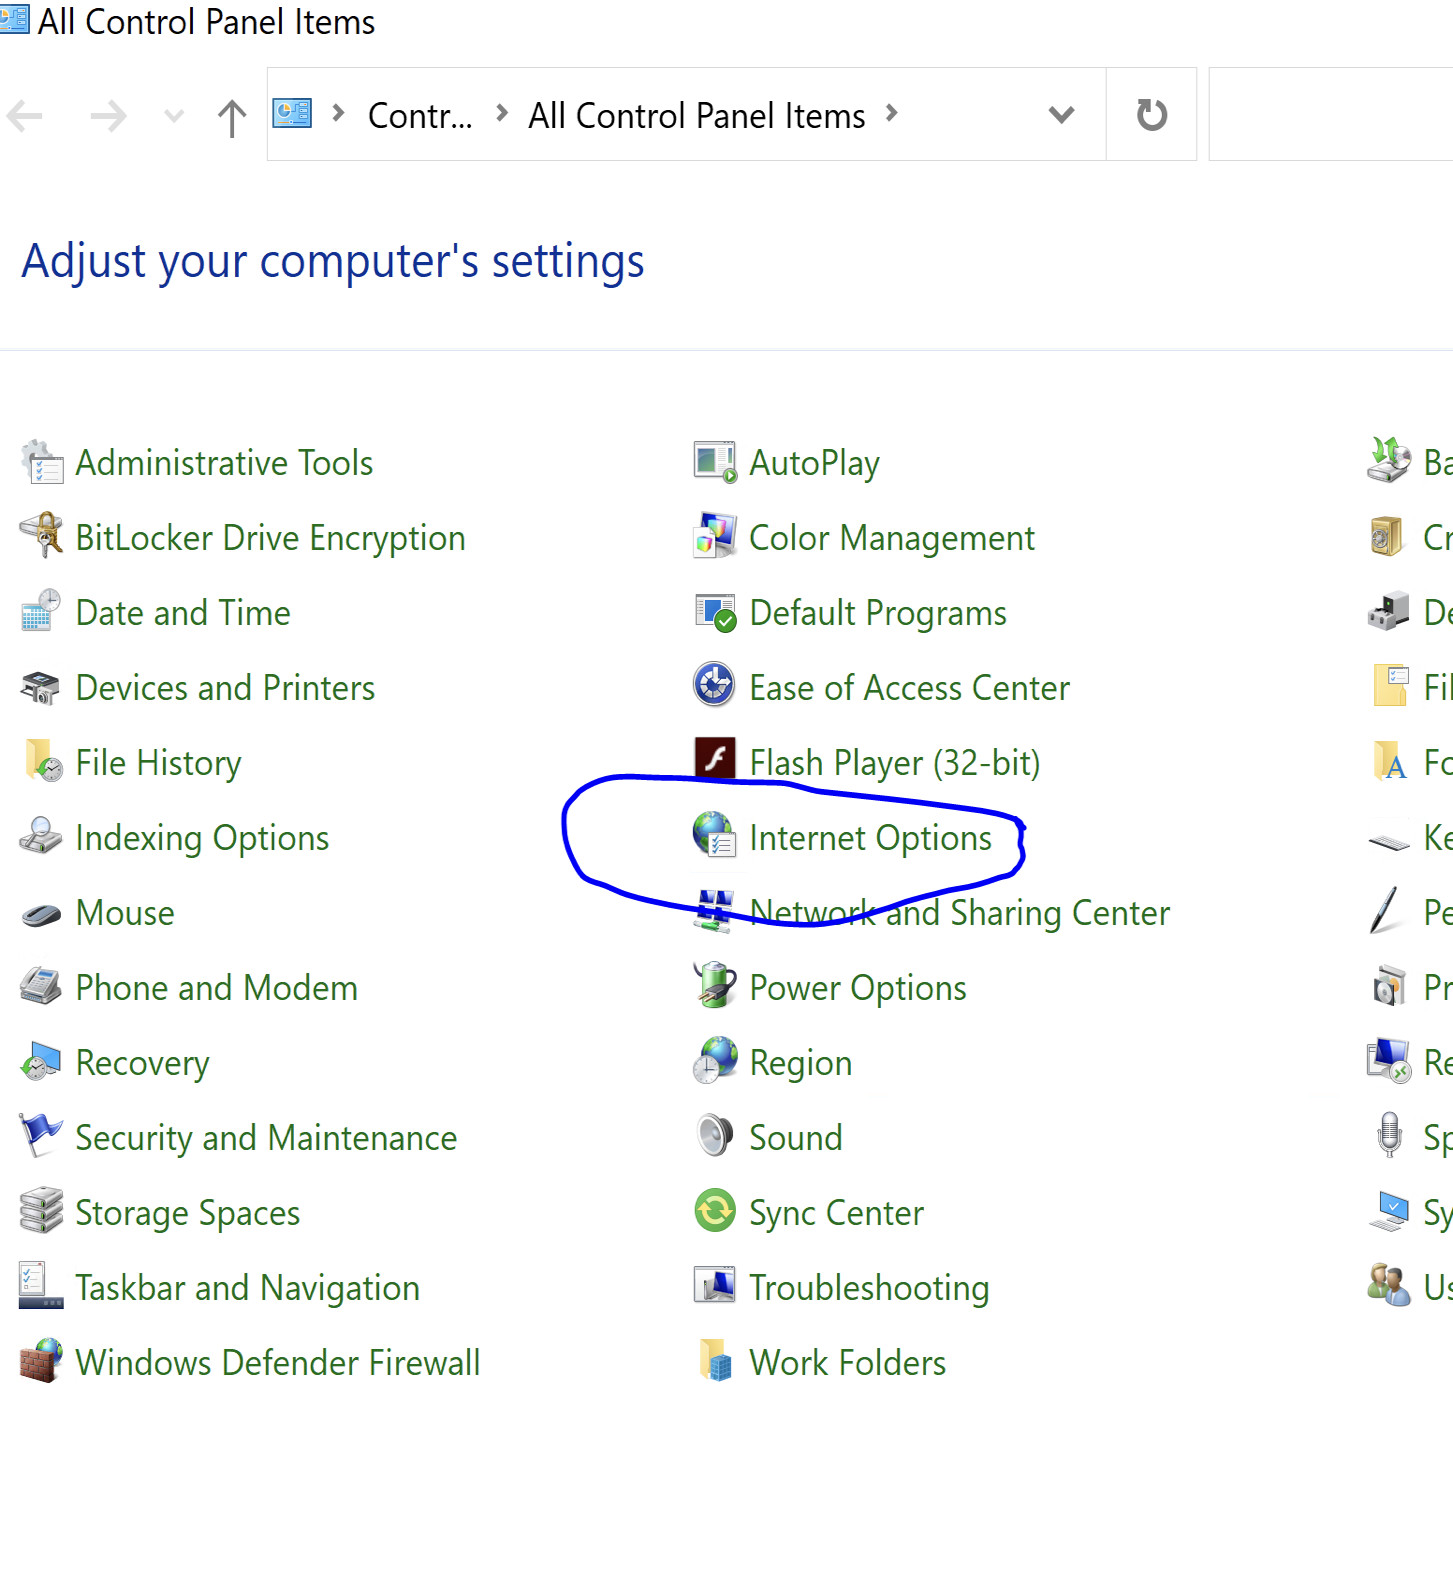
Browser Configuration
- On System (domain joined system) open the control panel -> Internet options
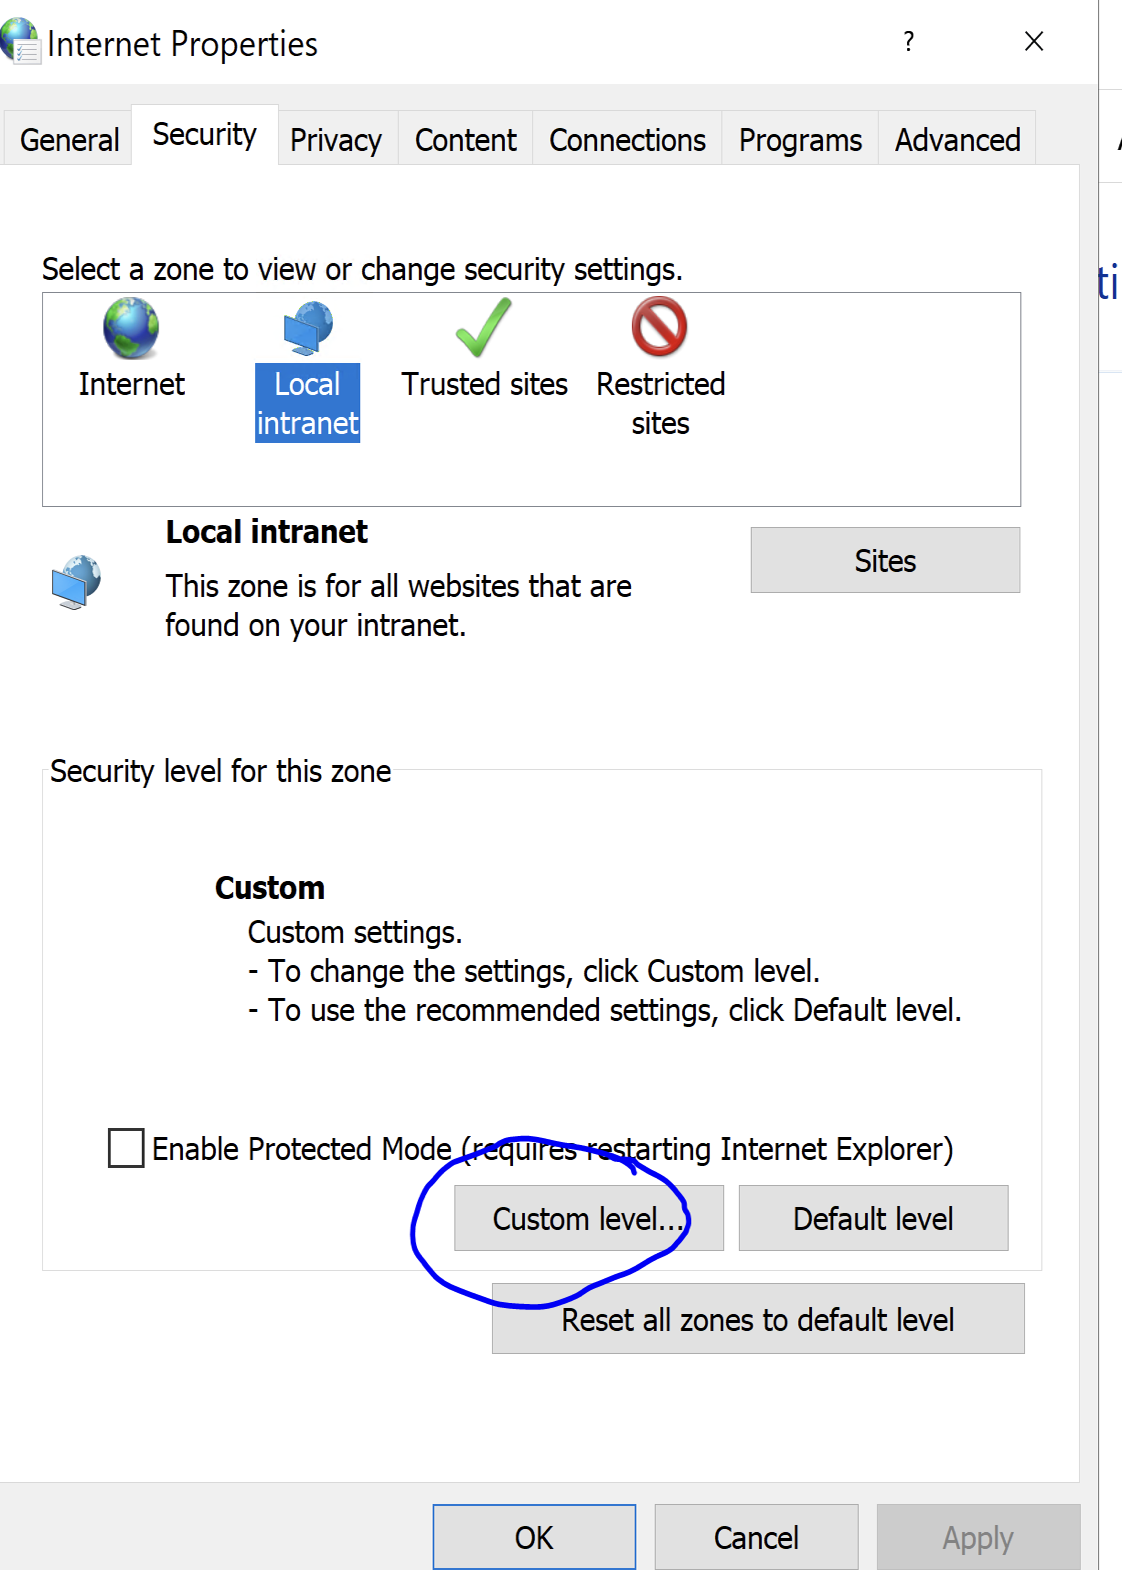
- Click on [Custom Level]
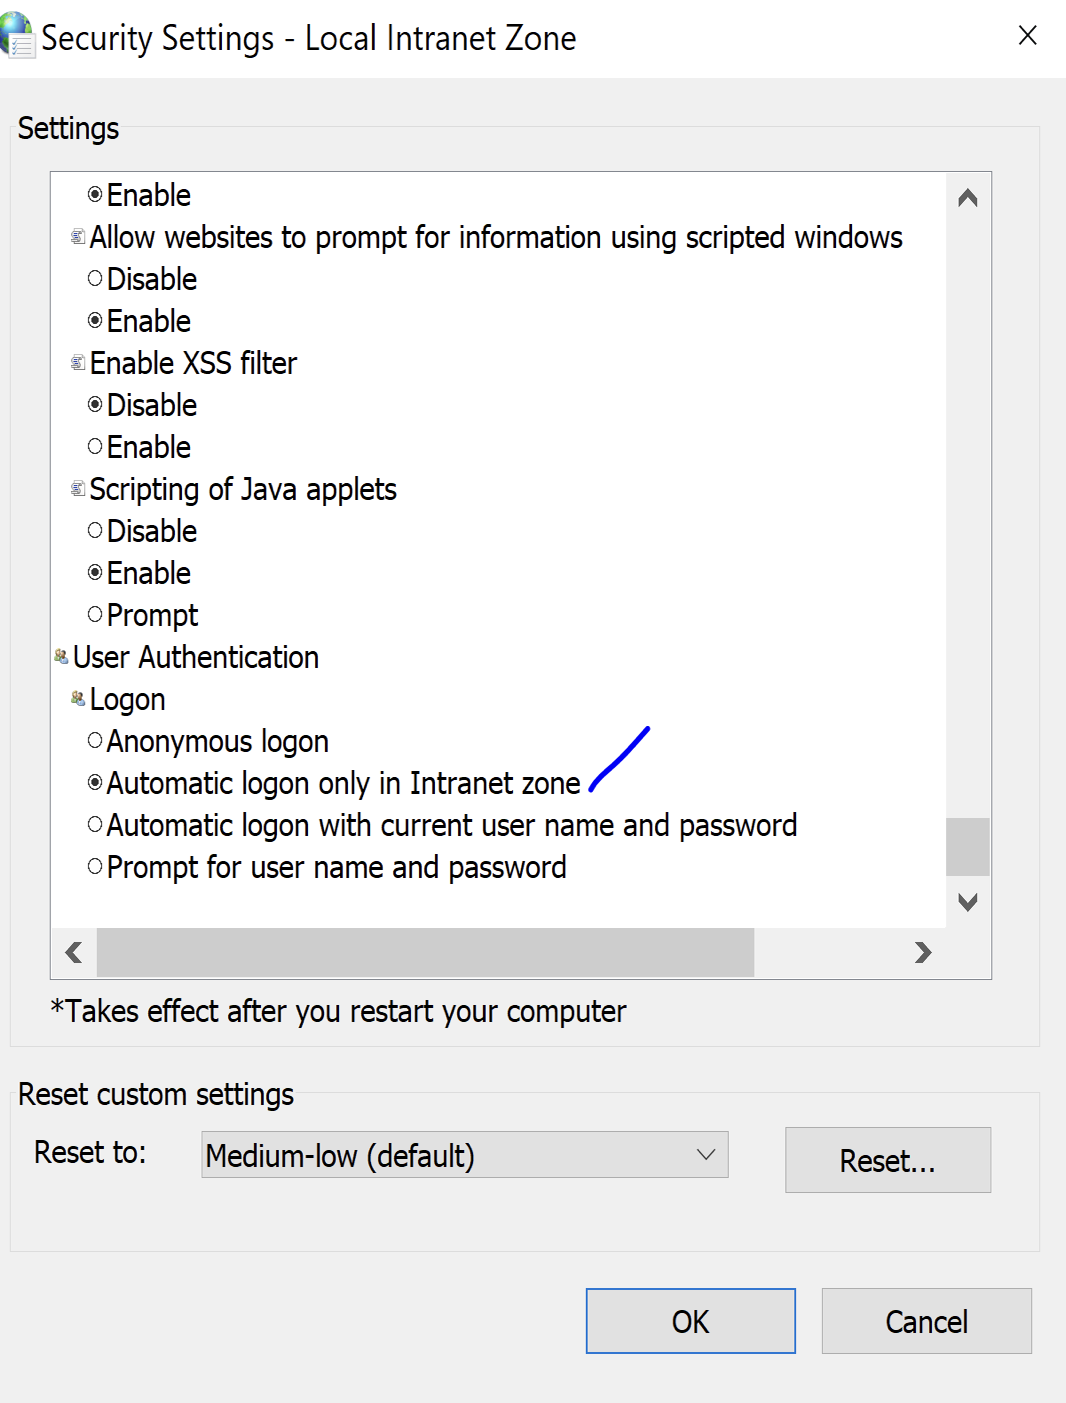
-
Ensure [Automatic logon only in intranet Zone] is enabled.
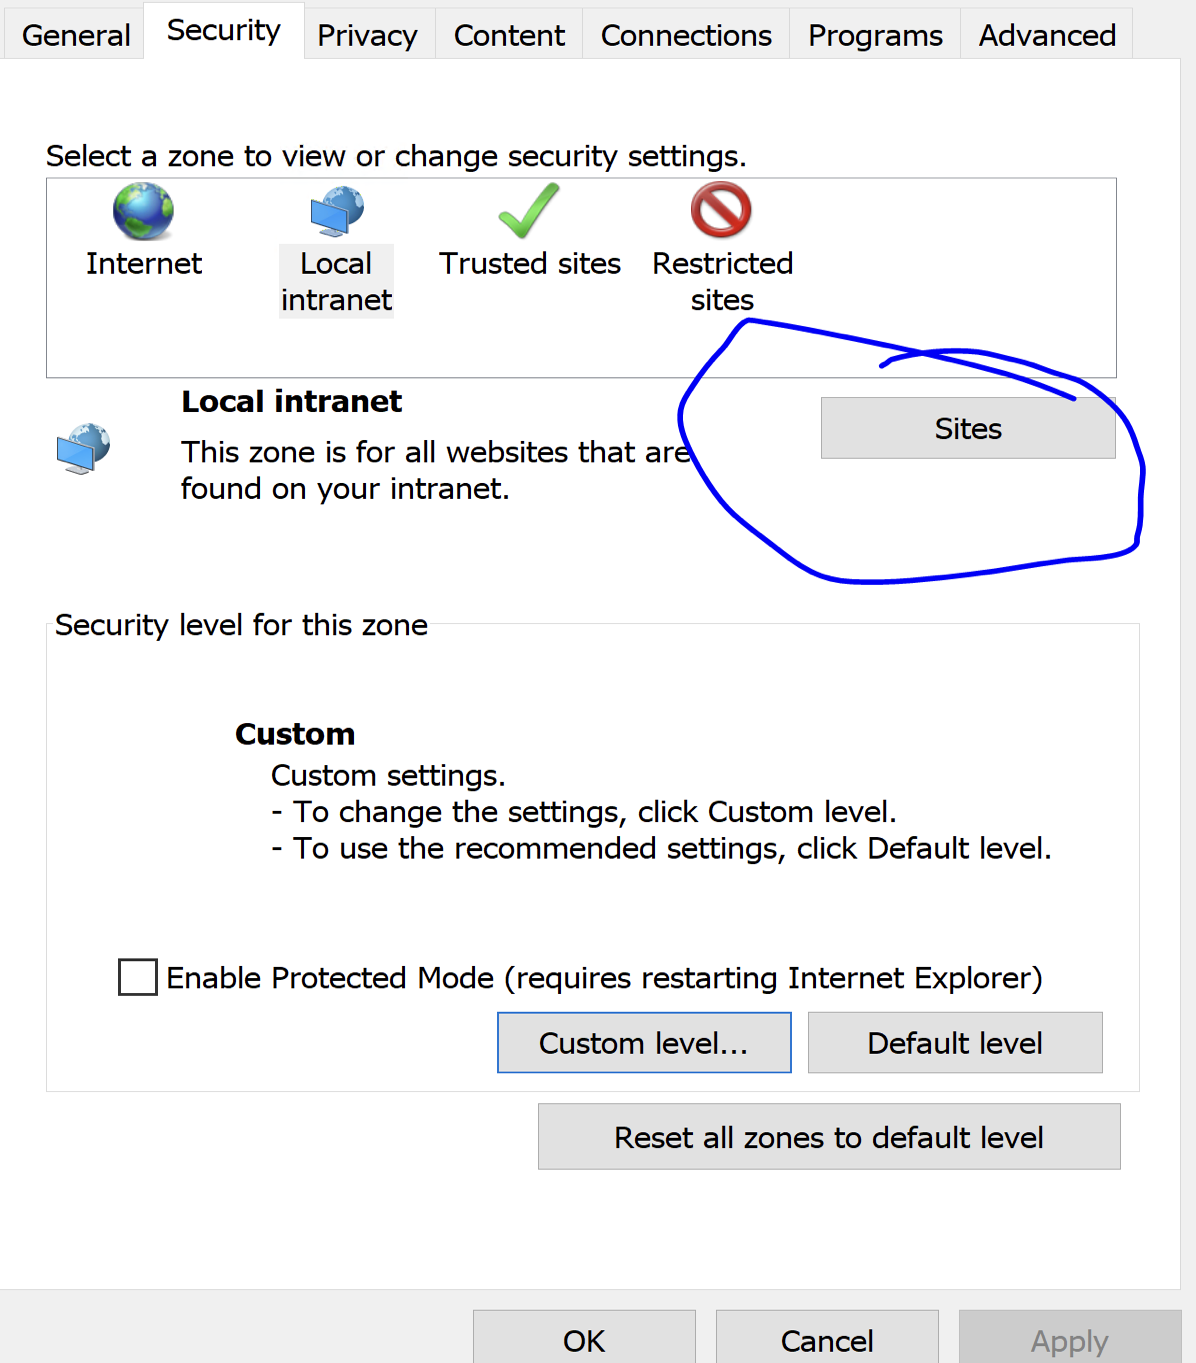
-
Click on Local Intranet [Sites]
- Advanced
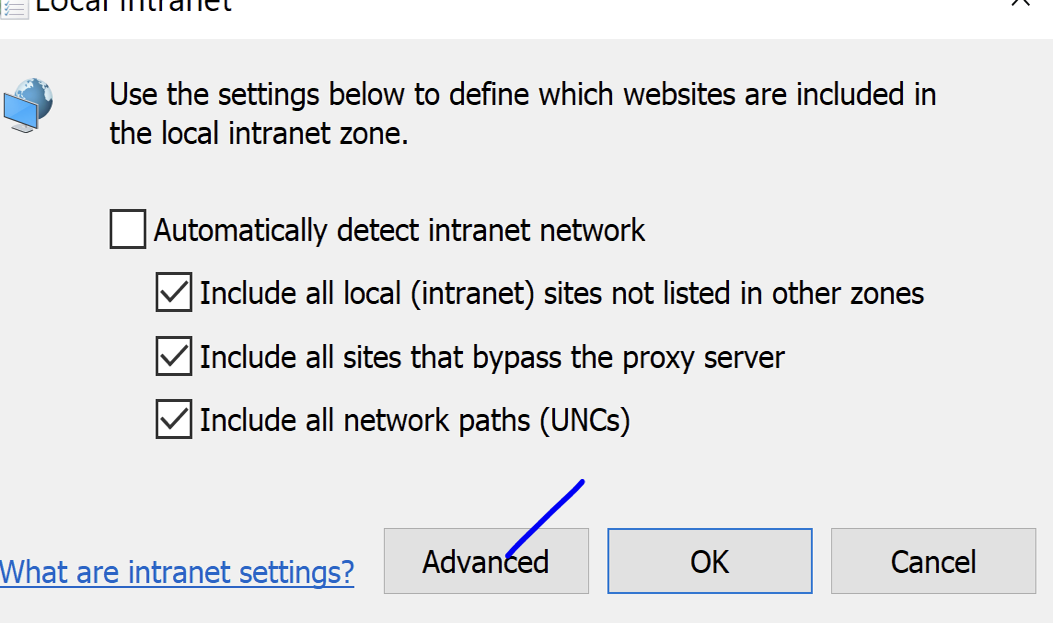
- Add the site there.

- Save settings and restart the chrome / firefox browsers.
Troubleshooting
- If you observe the following page onto Owncloud system in browser, ensure that system clocks are not skewed between two systems [ADFS and owncloud]
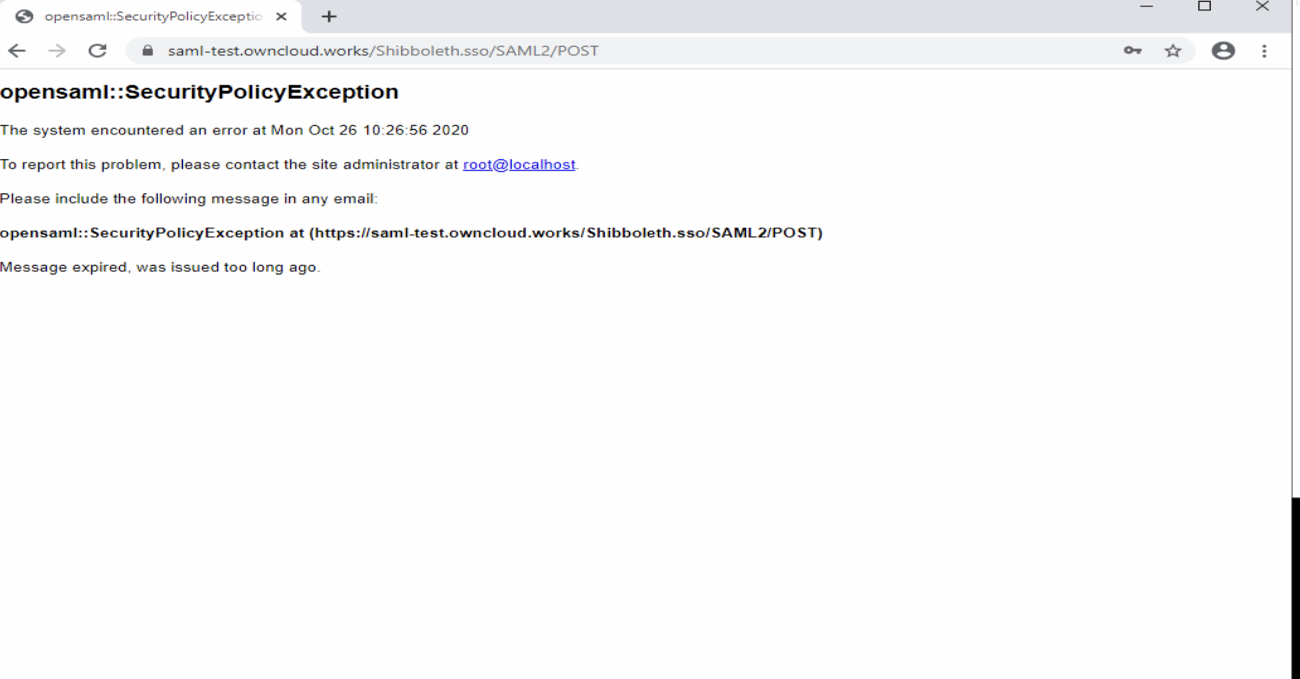
- Else edit the clockskew parameter value into shibboleth2.xml file and restart the shibboleth & apache2 services and try again.
- With SSO mechanism ensure that same userid exists in both the ADFS and owncloud. Only then users will be able to login into owncloud.
- ADFS Troubleshooting section - https://docs.microsoft.com/en-us/windows-server/identity/ad-fs/troubleshooting/ad-fs-tshoot-iwa