Steps to reproduce
- Manually installed version of 10.2.1
- Configure read and write permissions on config.php.orig
- Use Upgrader App in Owncloud Interface
- Upgrade completes successfully
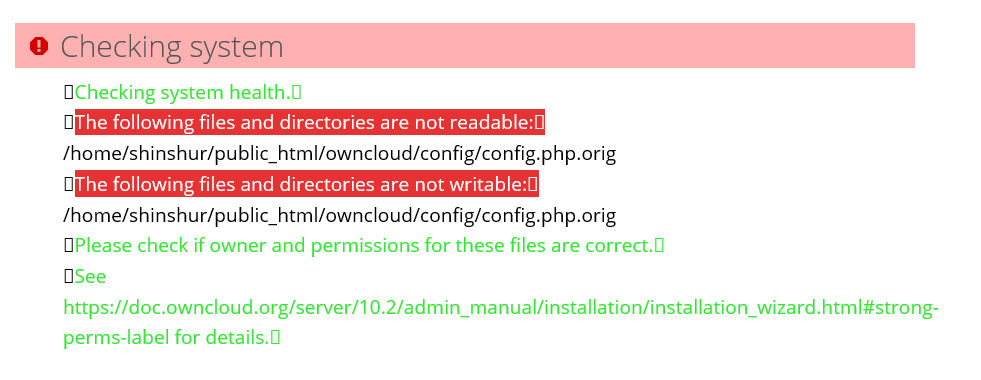
- Access login page for Owncloud Web Interface on frontend
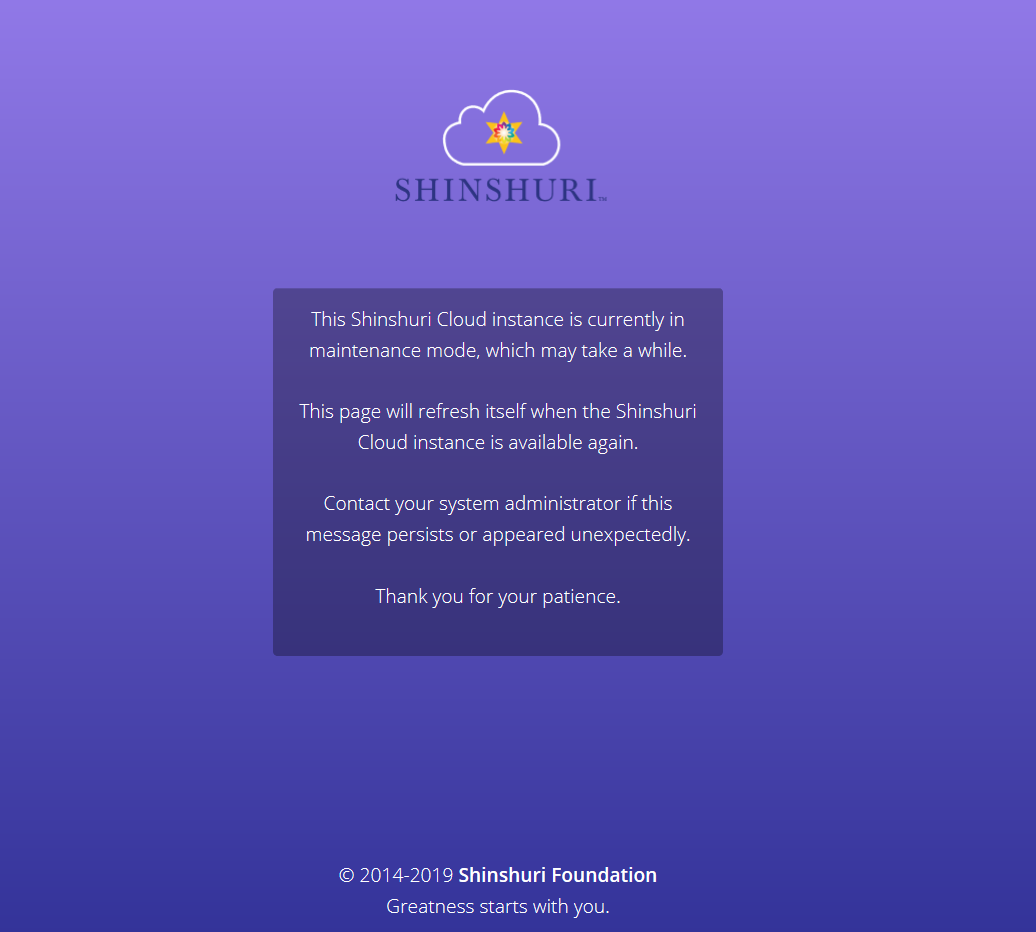
- Error message displays (see attached screenshot)
Expected behaviour
After install is successfully. User should be able to access and see login screen with login fields to login.
Actual behaviour
An error message displays install. See attached screen shots
Server configuration
Operating system:
- CENTOS 6.10 [dedicated17] * [ v84.0.9]
Web server:
Linux
Database:
MySQL
PHP version:
7.1
ownCloud version: (see ownCloud admin page)
10.3.0
Updated from an older ownCloud or fresh install:
10.2.1
Where did you install ownCloud from:
manual install
Signing status (ownCloud 9.0 and above):
Login as admin user into your ownCloud and access
http://example.com/index.php/settings/integrity/failed
paste the results into https://gist.github.com/ and puth the link here.
https://scloud.shinshuri.com/index.php/settings/admin#security-warning

The content of config/config.php:
Log in to the web-UI with an administrator account and click on
'admin' -> 'Generate Config Report' -> 'Download ownCloud config report'
This report includes the config.php settings, the list of activated apps
and other details in a well sanitized form.

or

If you have access to your command line run e.g.:
sudo -u www-data php occ config:list system
from within your ownCloud installation folder

*ATTENTION:* Do not post your config.php file in public as is. Please use one of the above
methods whenever possible. Both, the generated reports from the web-ui and from occ config:list
consistently remove sensitive data. You still may want to review the report before sending.
If done manually then it is critical for your own privacy to dilligently
remove *all* host names, passwords, usernames, salts and other credentials before posting.
You should assume that attackers find such information and will use them against your systems.
List of activated apps:
If you have access to your command line run e.g.:
sudo -u www-data php occ app:list
from within your ownCloud installation folder.
Are you using external storage, if yes which one: local/smb/sftp/…
Are you using encryption: yes/no
Are you using an external user-backend, if yes which one: LDAP/ActiveDirectory/Webdav/…
LDAP configuration (delete this part if not used)
With access to your command line run e.g.:
sudo -u www-data php occ ldap:show-config
from within your ownCloud installation folder

Without access to your command line download the data/owncloud.db to your local
computer or access your SQL server remotely and run the select query:
SELECT * FROM `oc_appconfig` WHERE `appid` = 'user_ldap';


Eventually replace sensitive data as the name/IP-address of your LDAP server or groups.
Client configuration
Browser:
Operating system:
Logs
Web server error log
Insert your webserver log here
ownCloud log (data/owncloud.log)
Insert your ownCloud log here
Browser log
Insert your browser log here, this could for example include:

a) The javascript console log
b) The network log
c) ...